


1. Click on the profile logo in the top right corner
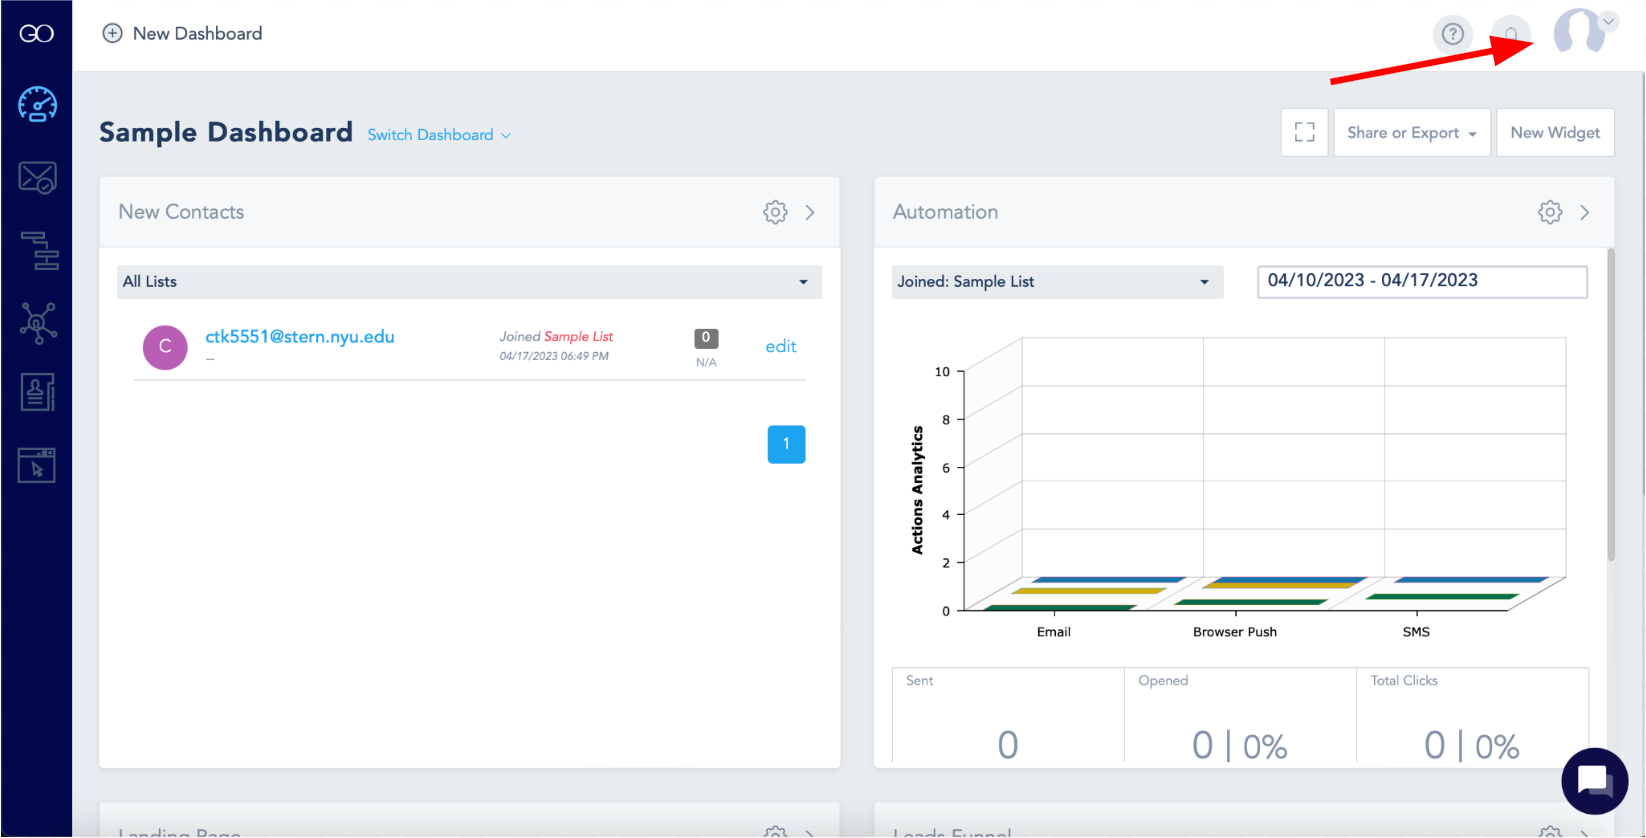 2. Next, click on settings

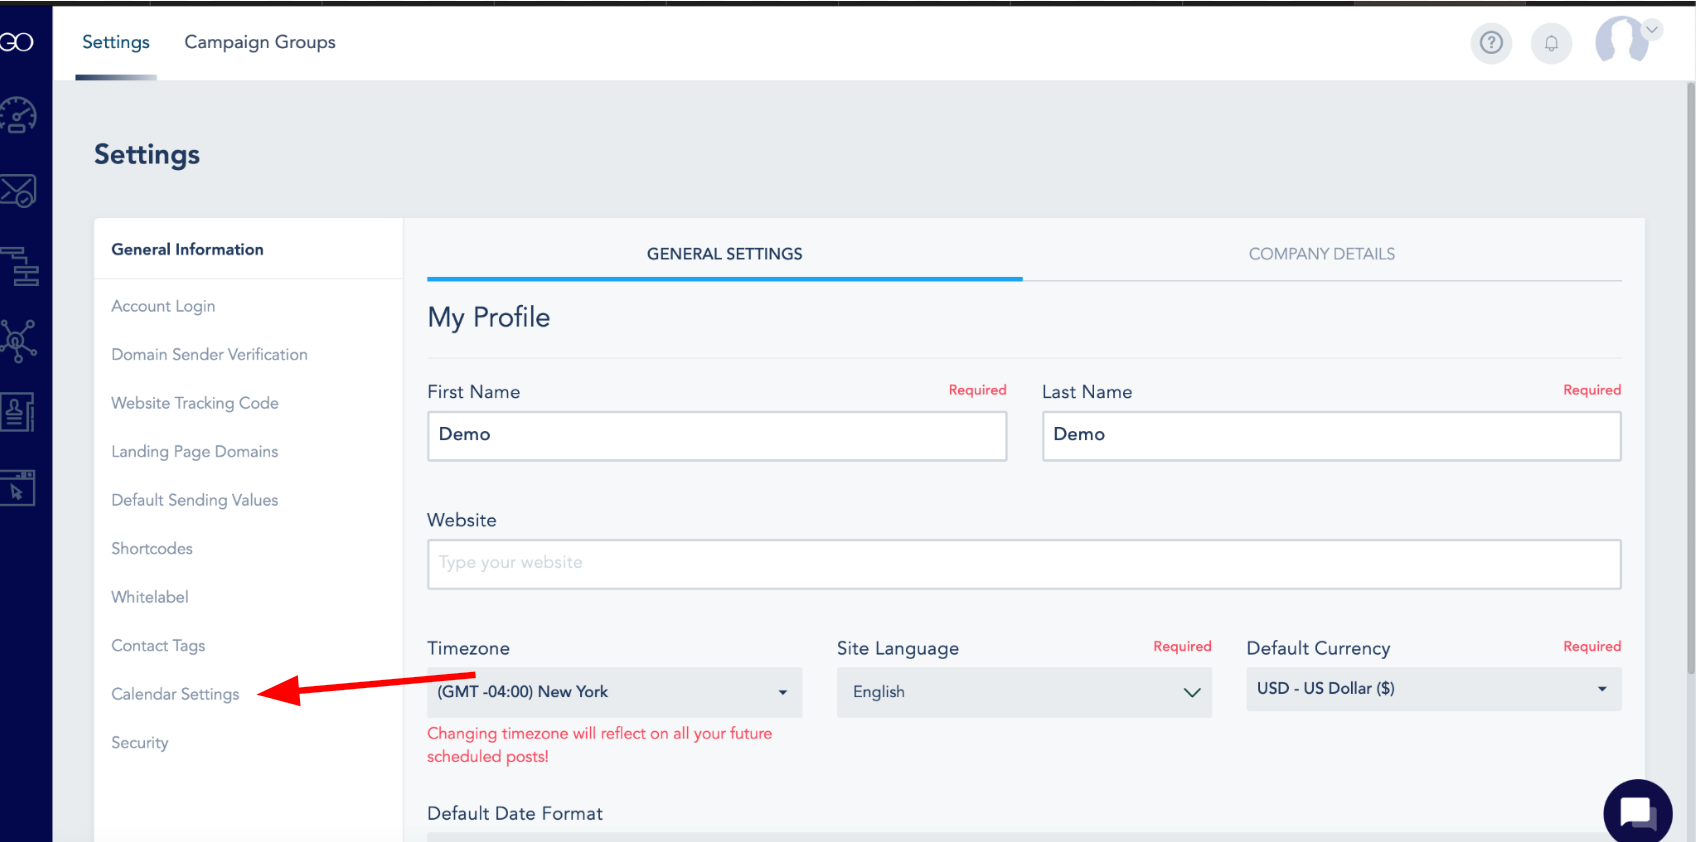
3. Next, click on calendar settings
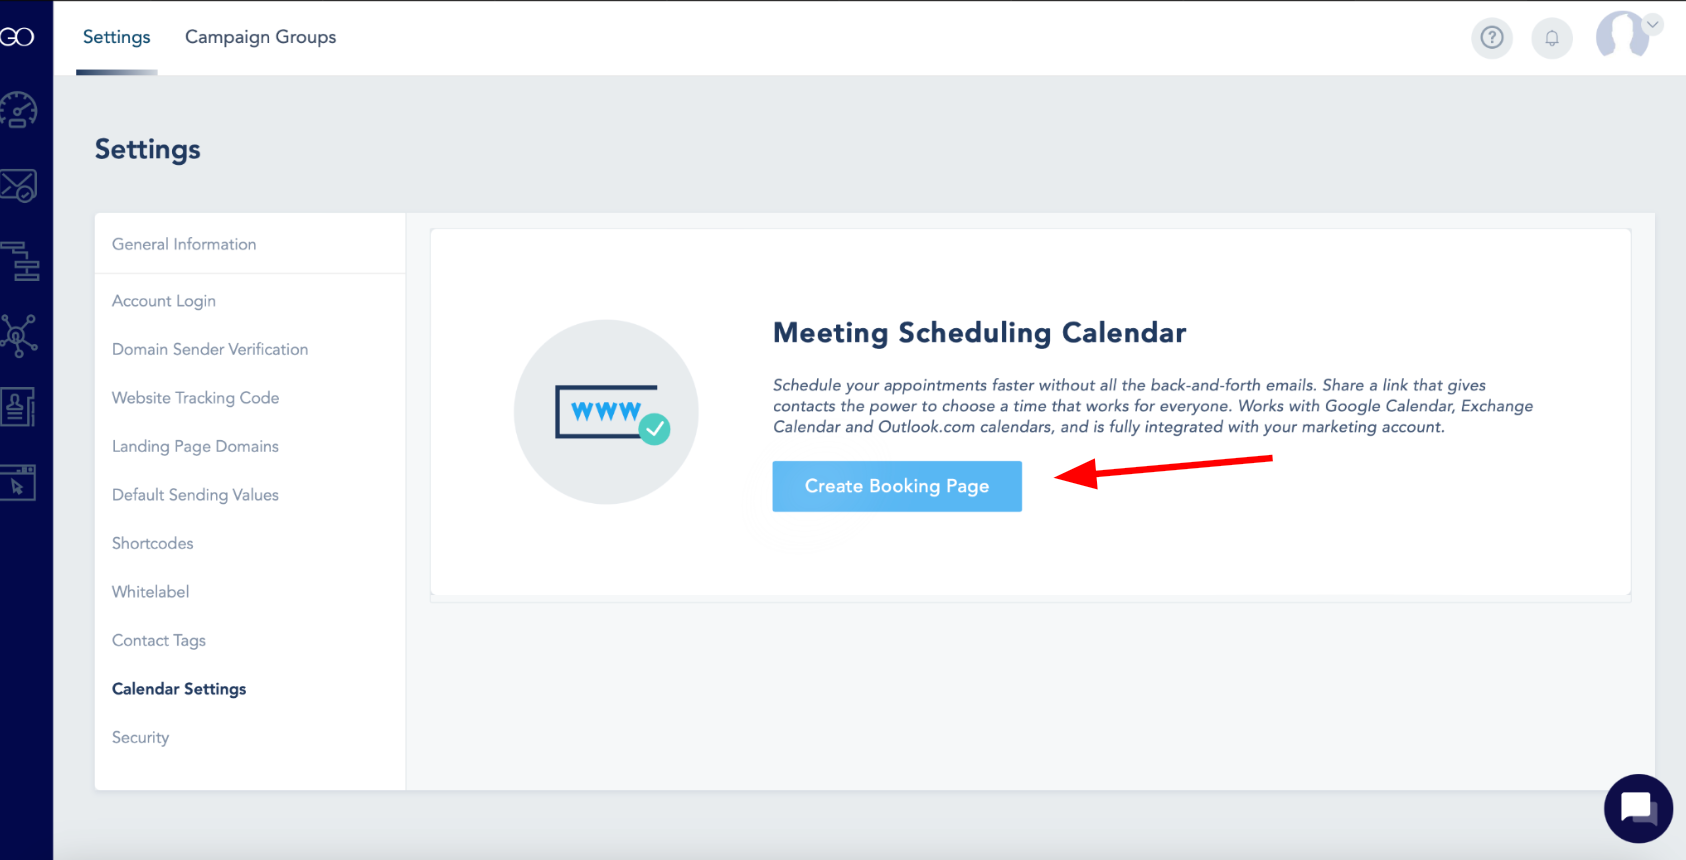
4. Then, "Create Booking Page"
5. Then, Give Your Calendar a Page Name and Press "Connect Calendar"

6. Then, Click "Connect Your Calendar"
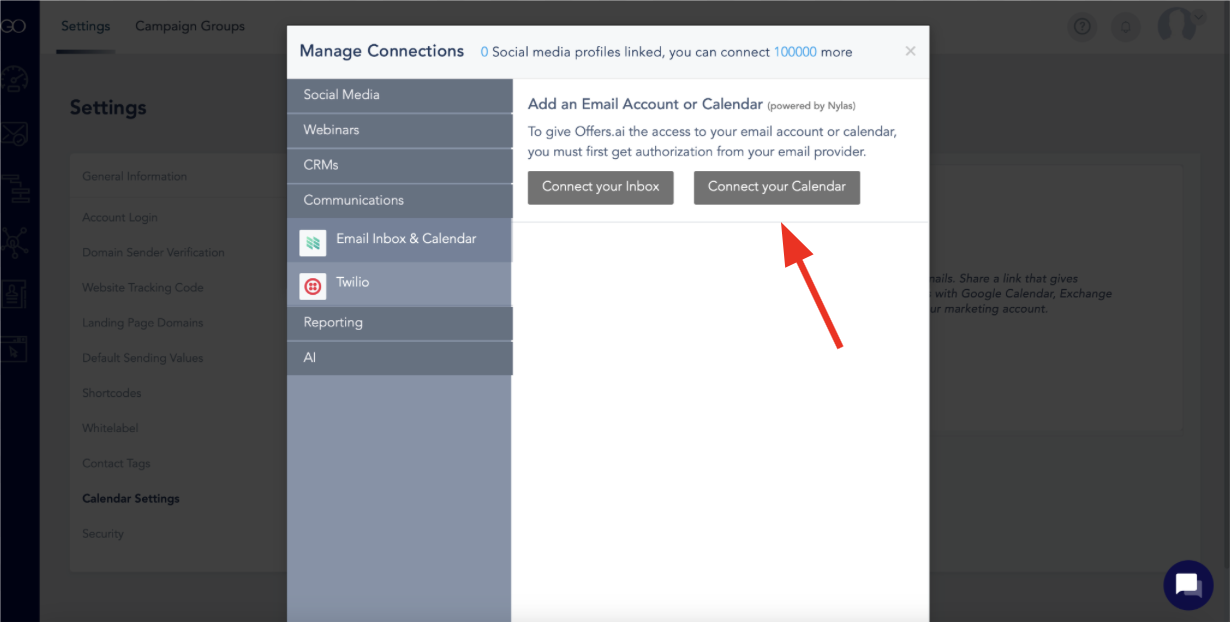
7. Next, Type in Your Email Associated with the Calendar You'd Like to Connect

8. Then, Click Sign in with Google if Your Email is a Gmail Account. Otherwise, Click "Select a Different Provider"

9. Next, Select the Email Account You Want to Connect 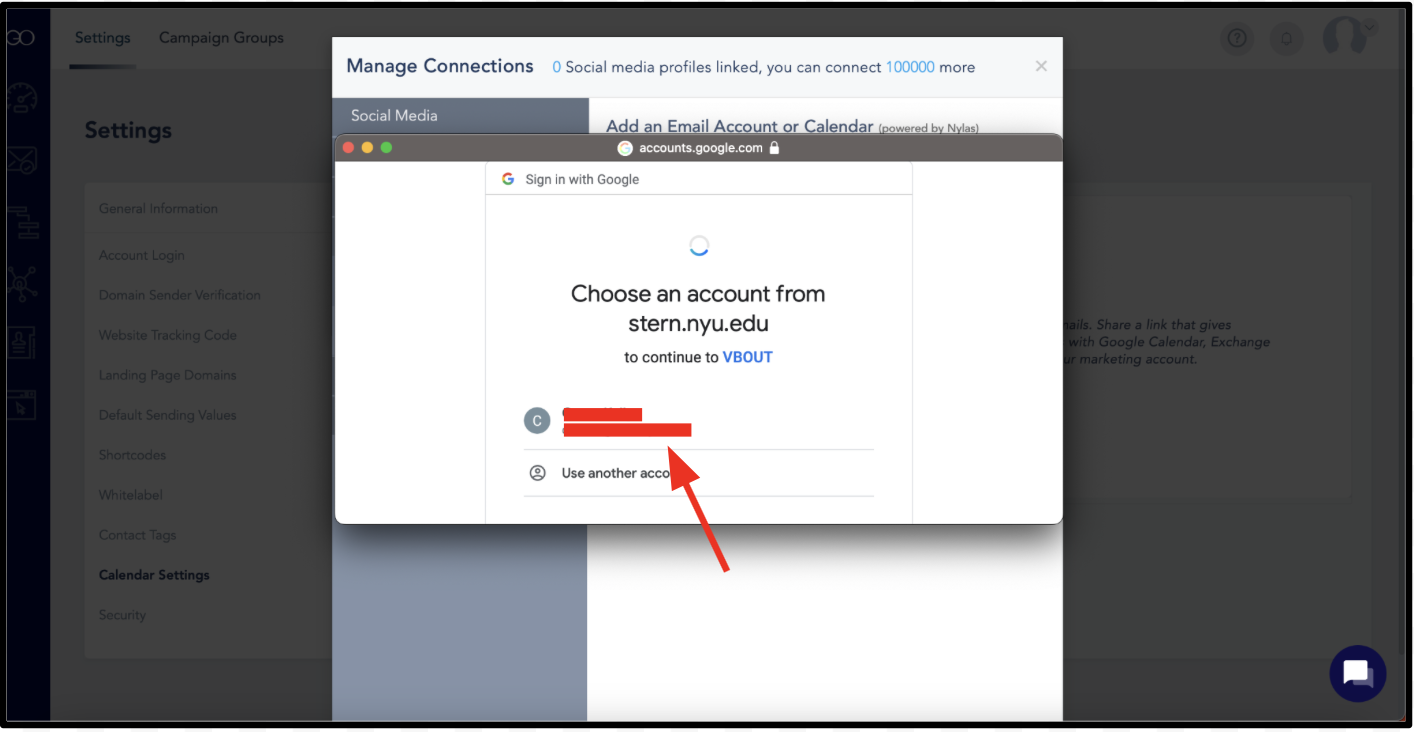
10. Then, Check All of the Listed Boxes and Select "Continue"

11. After this, you will see your email account listed under "Connected email inboxes and calendars". This means you have successfully connected your calendar

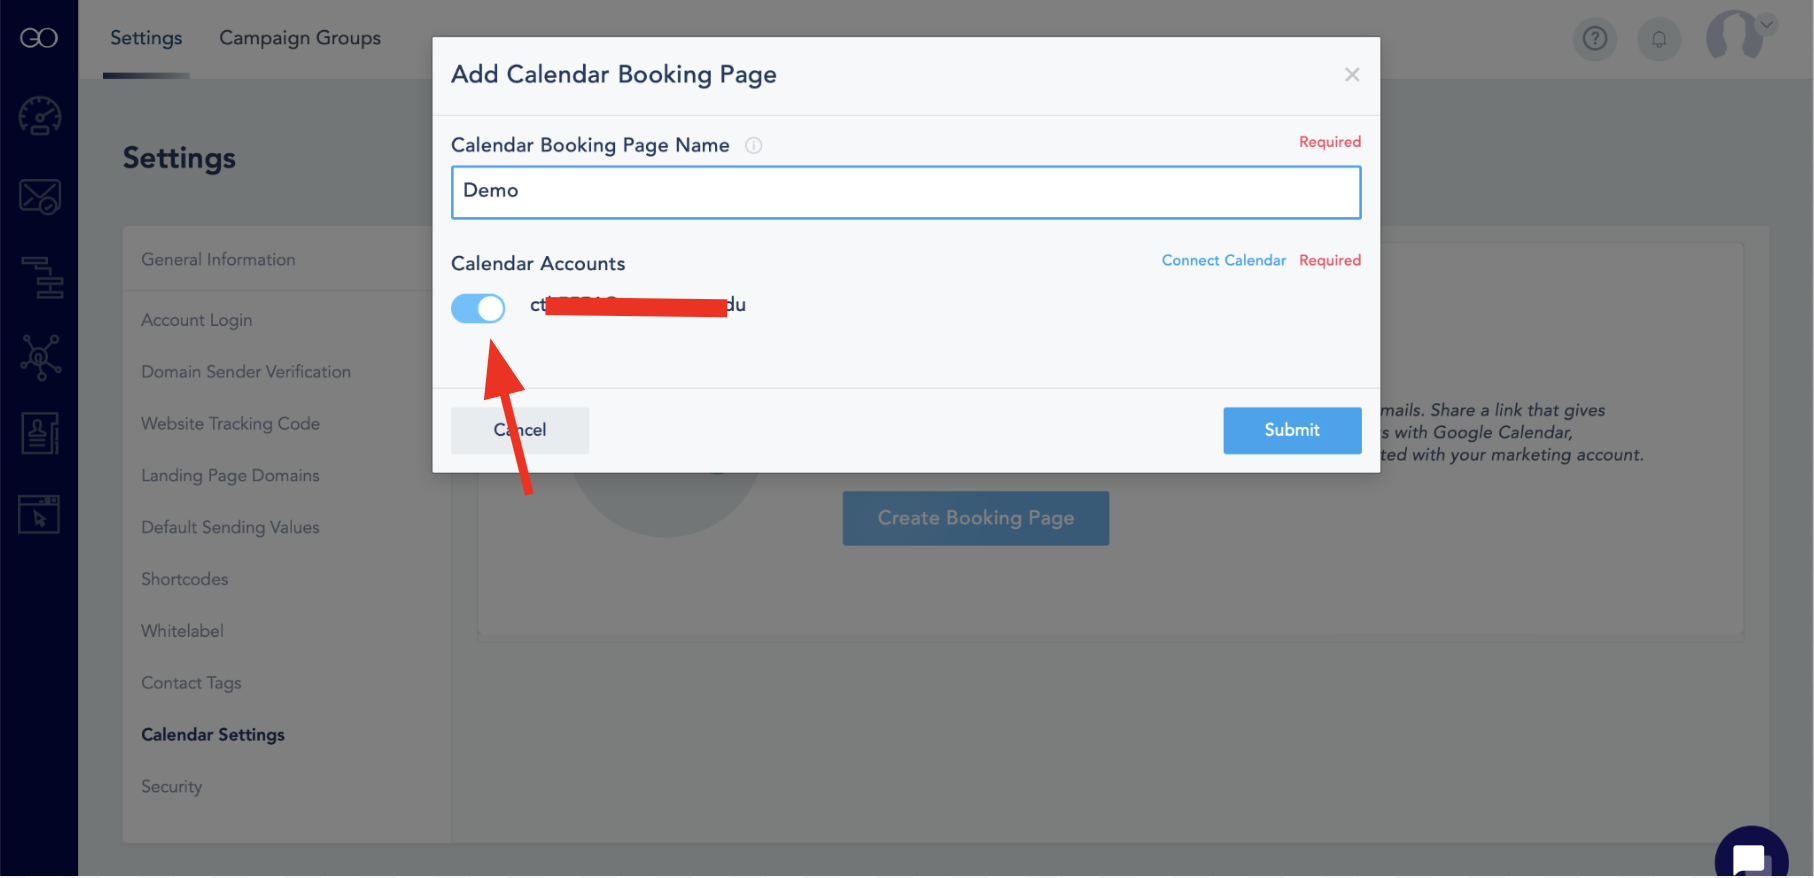
12. Your email you just connected will now appear on the calendar booking page. When you see it here, click the button listed under "Calendar Accounts" to activate your calendar. Once you've done that, click "Submit". Make sure to also give your Calendar Booking Page a name.
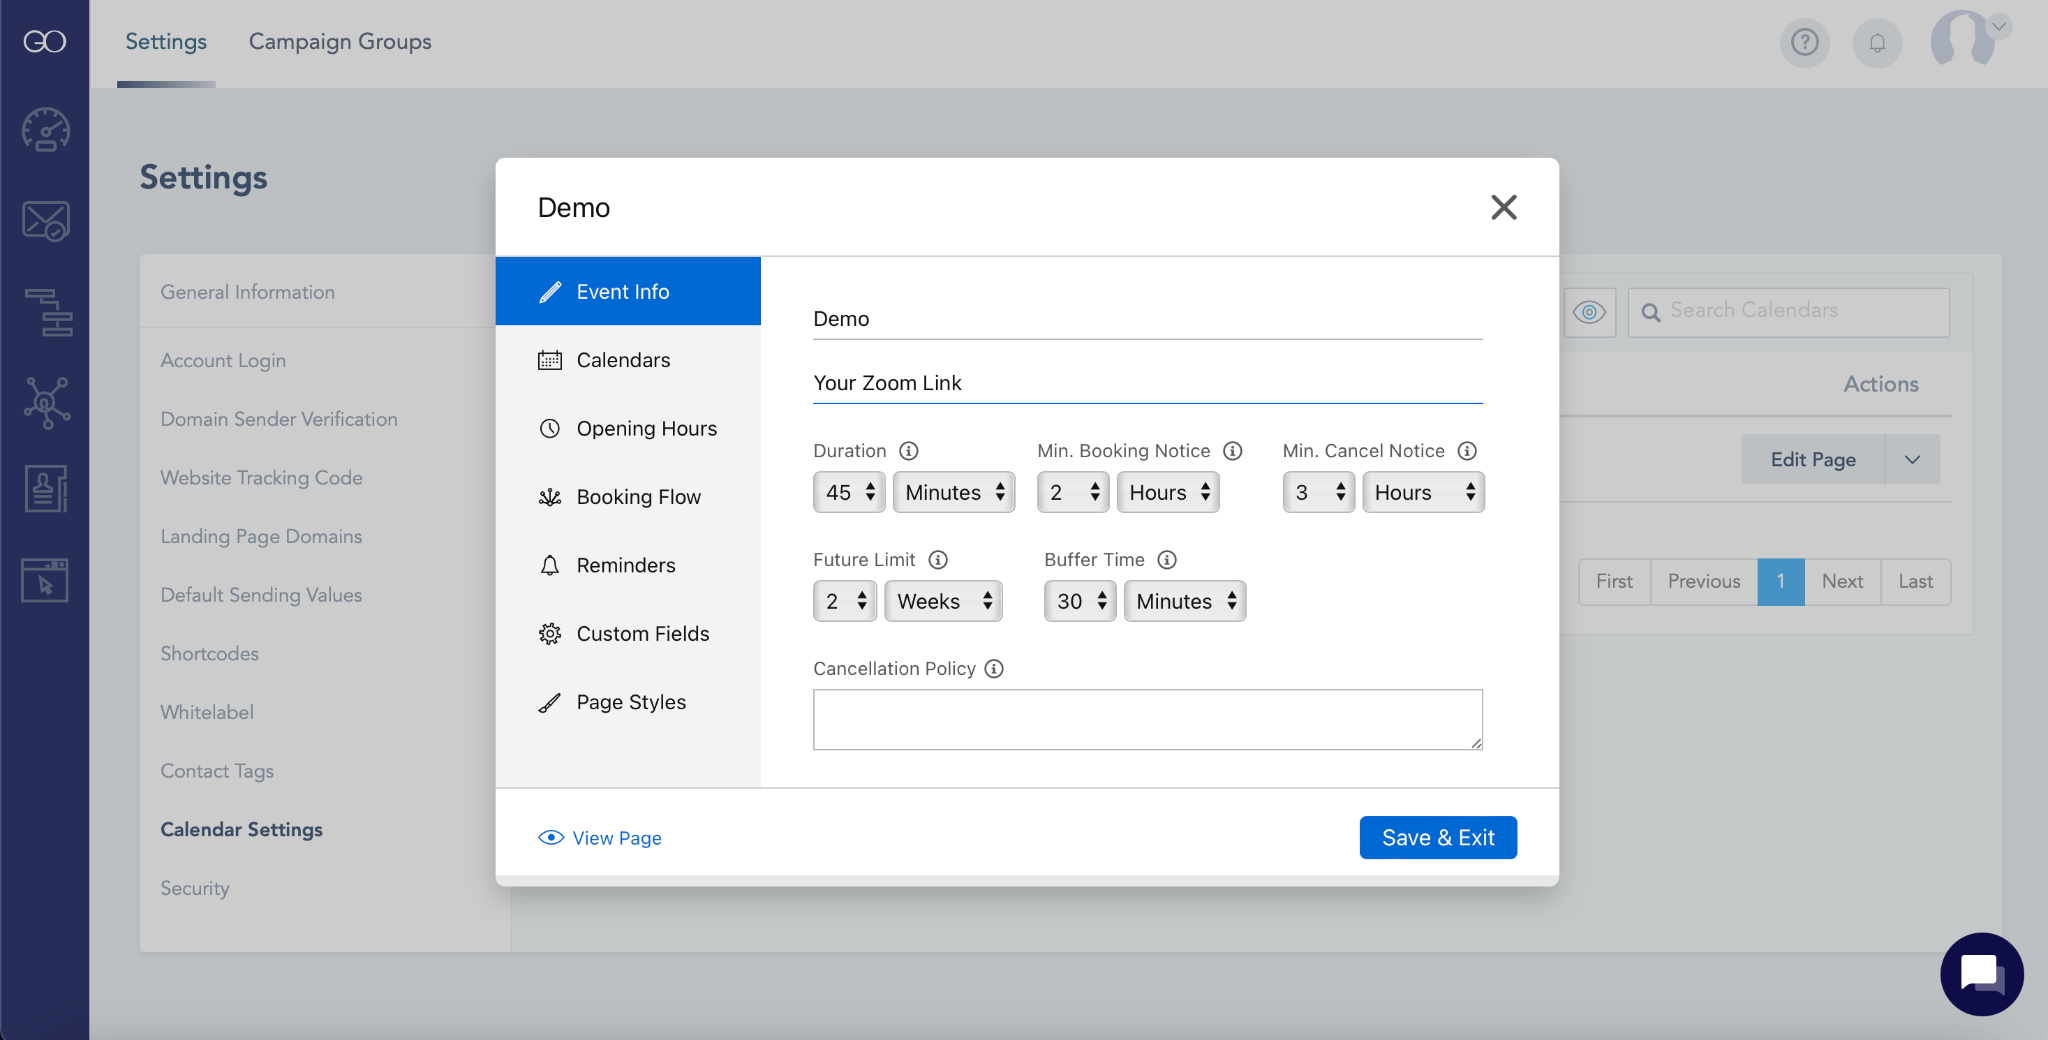
13. Next, you can adjust your calendar settings. This includes the duration of scheduled meetings, minimum booking and cancellation notices, booking in advance limit, and buffer time. You should also paste your zoom link in the line that says "Your Zoom Link". When you've customized your settings to your liking, click "Save and Exit"
14. You can also customize your "Opening Hours"
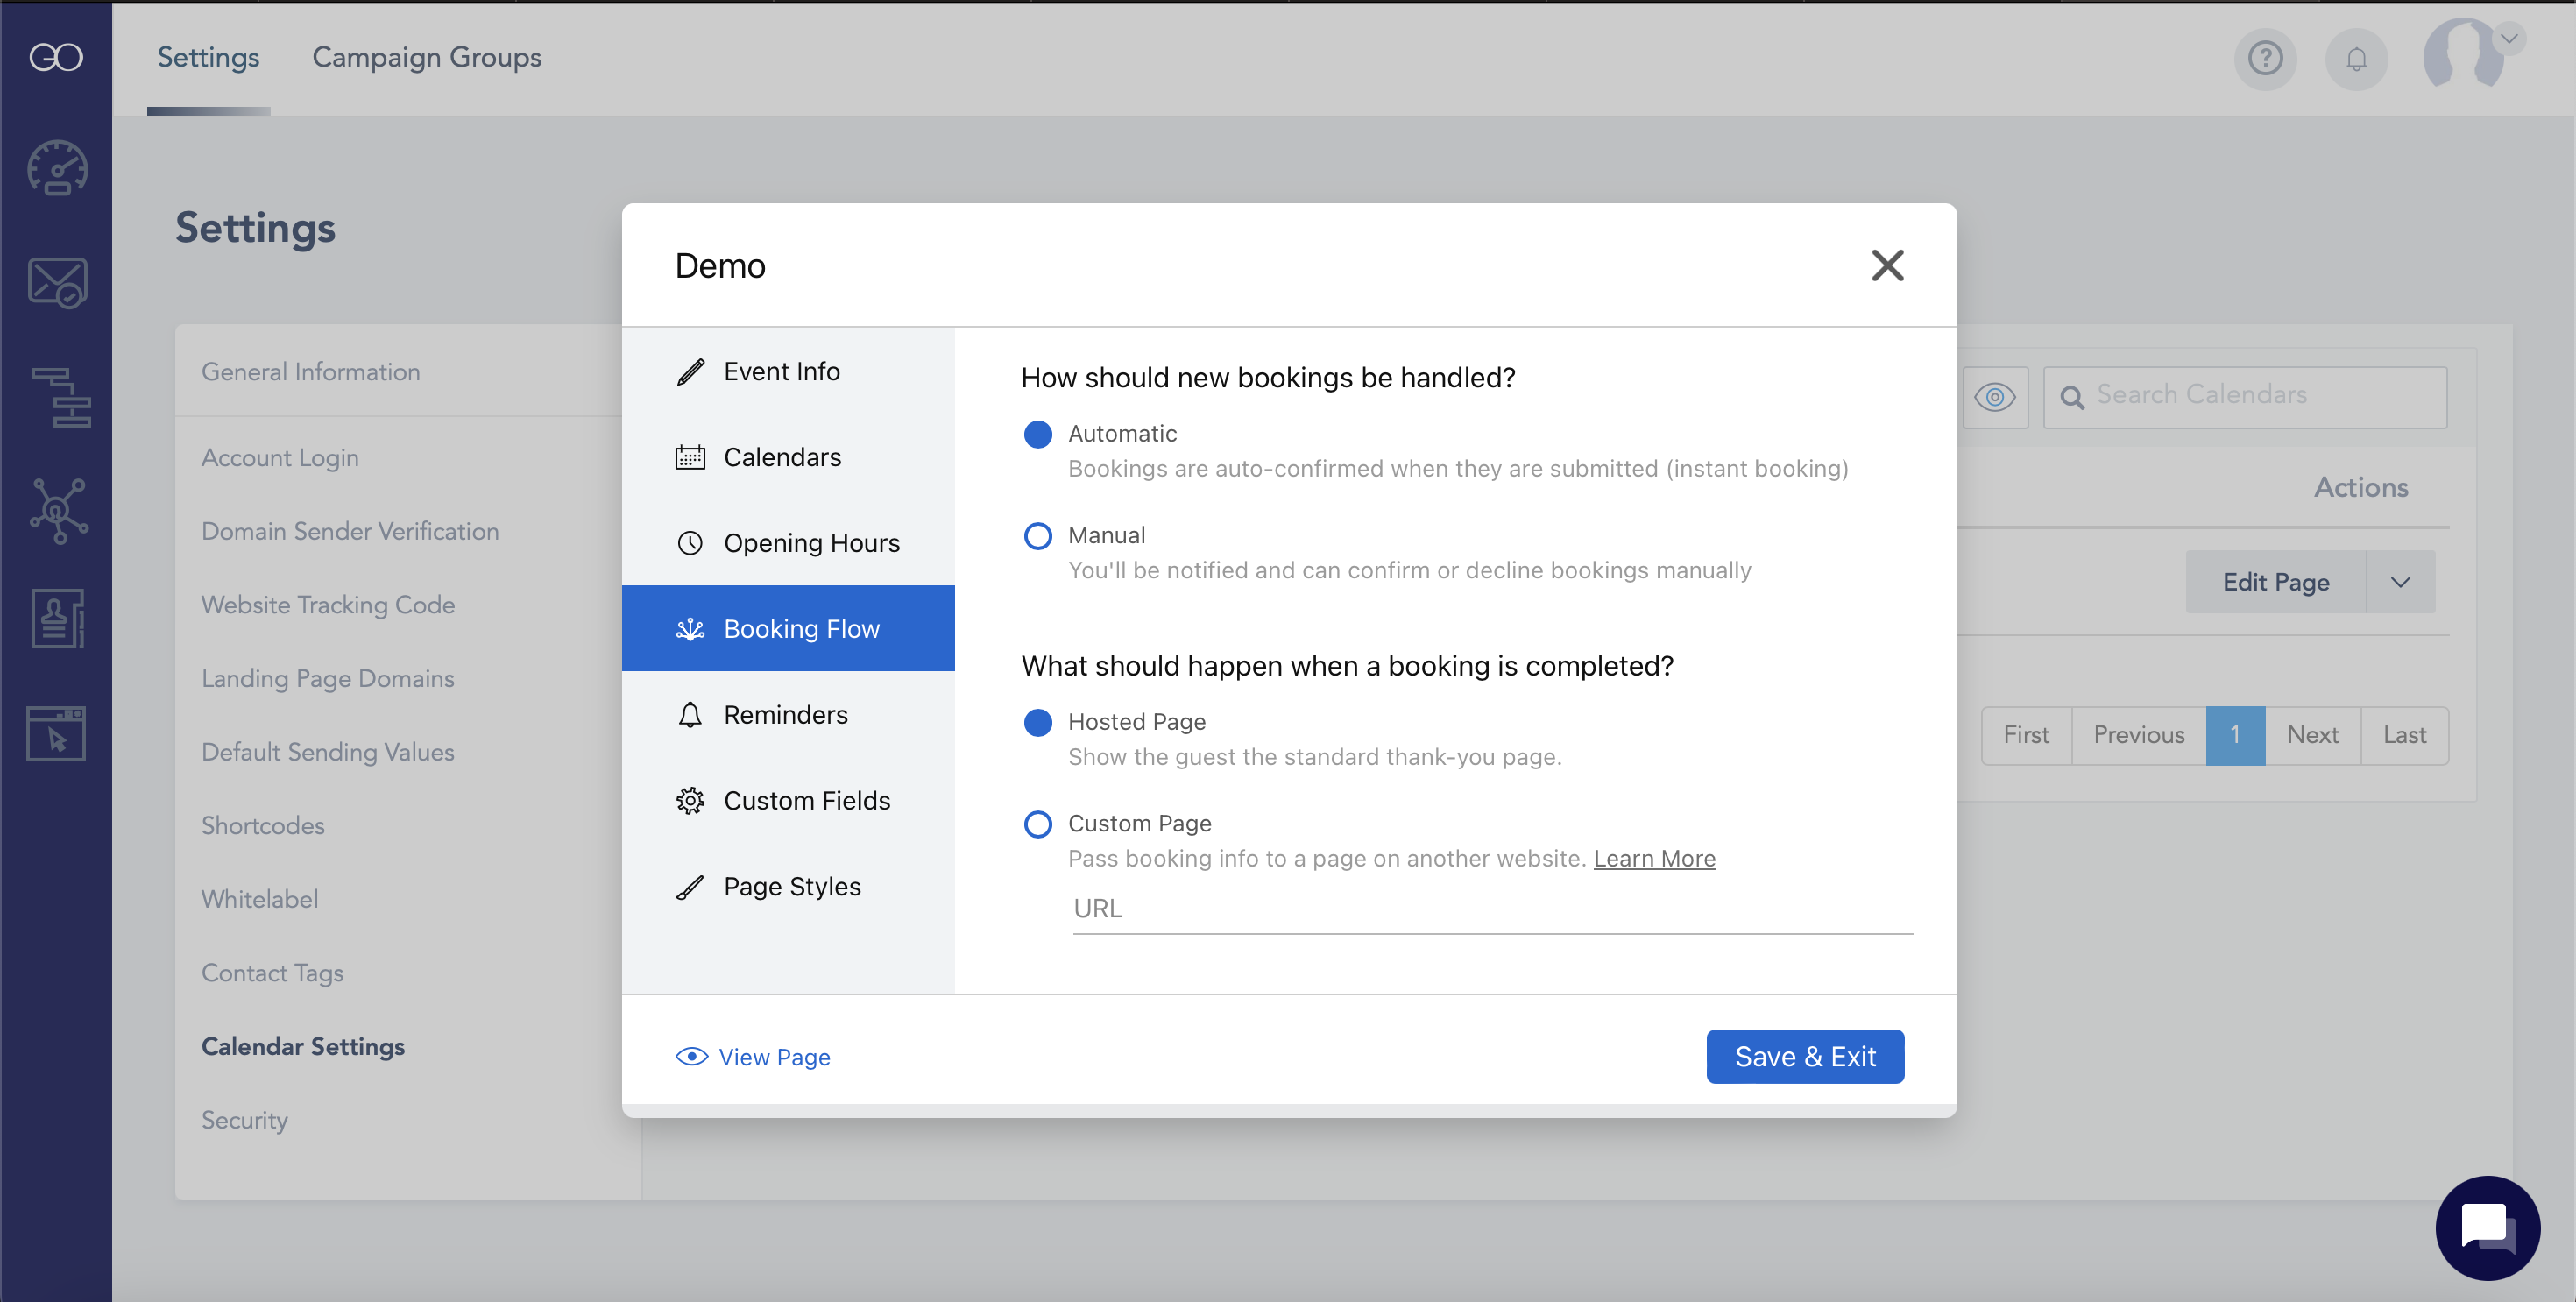
 15. You can customize your "Booking Flow" as well. This controls what happens after somebody books a meeting with you. Many people like to add on-screen thank you messages or other things of that nature.
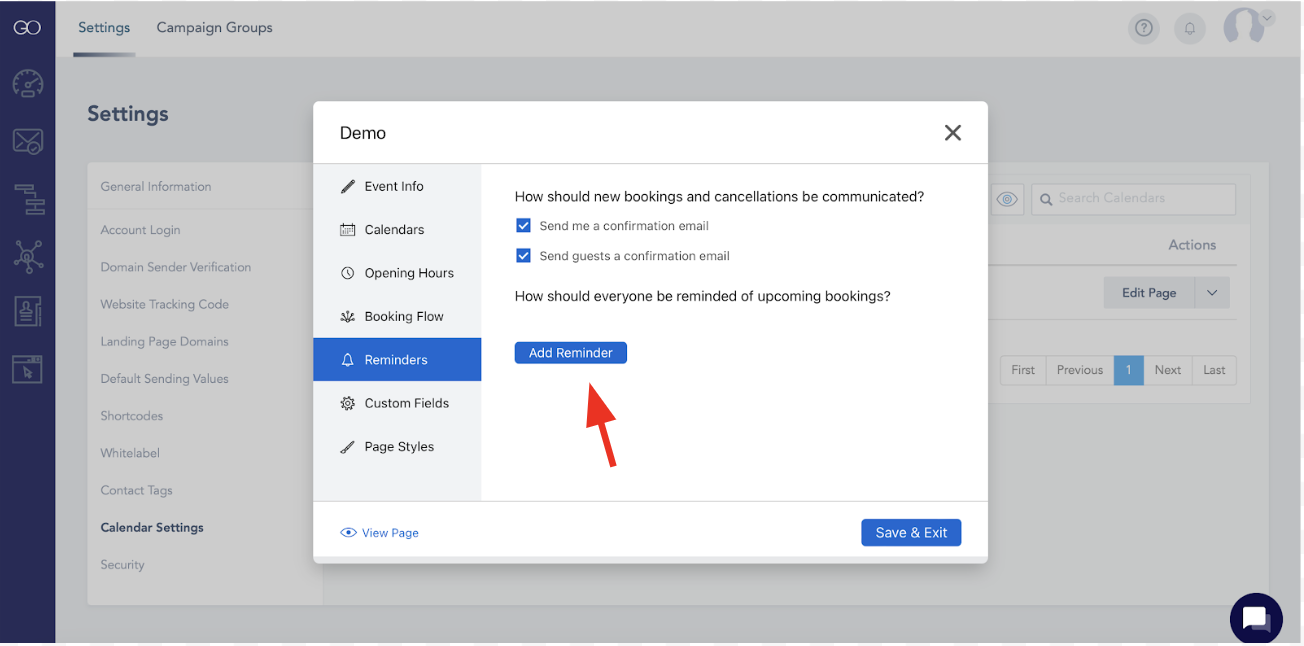
16. You can also have a customized reminder sent out to anyone who books a meeting with you to ensure they don't miss it. You can do so by clicking "Add Reminder"
17. After clicking "Add Reminder", it will take you to this screen. Here, you can customize what the reminder will look like and when it will be sent out. 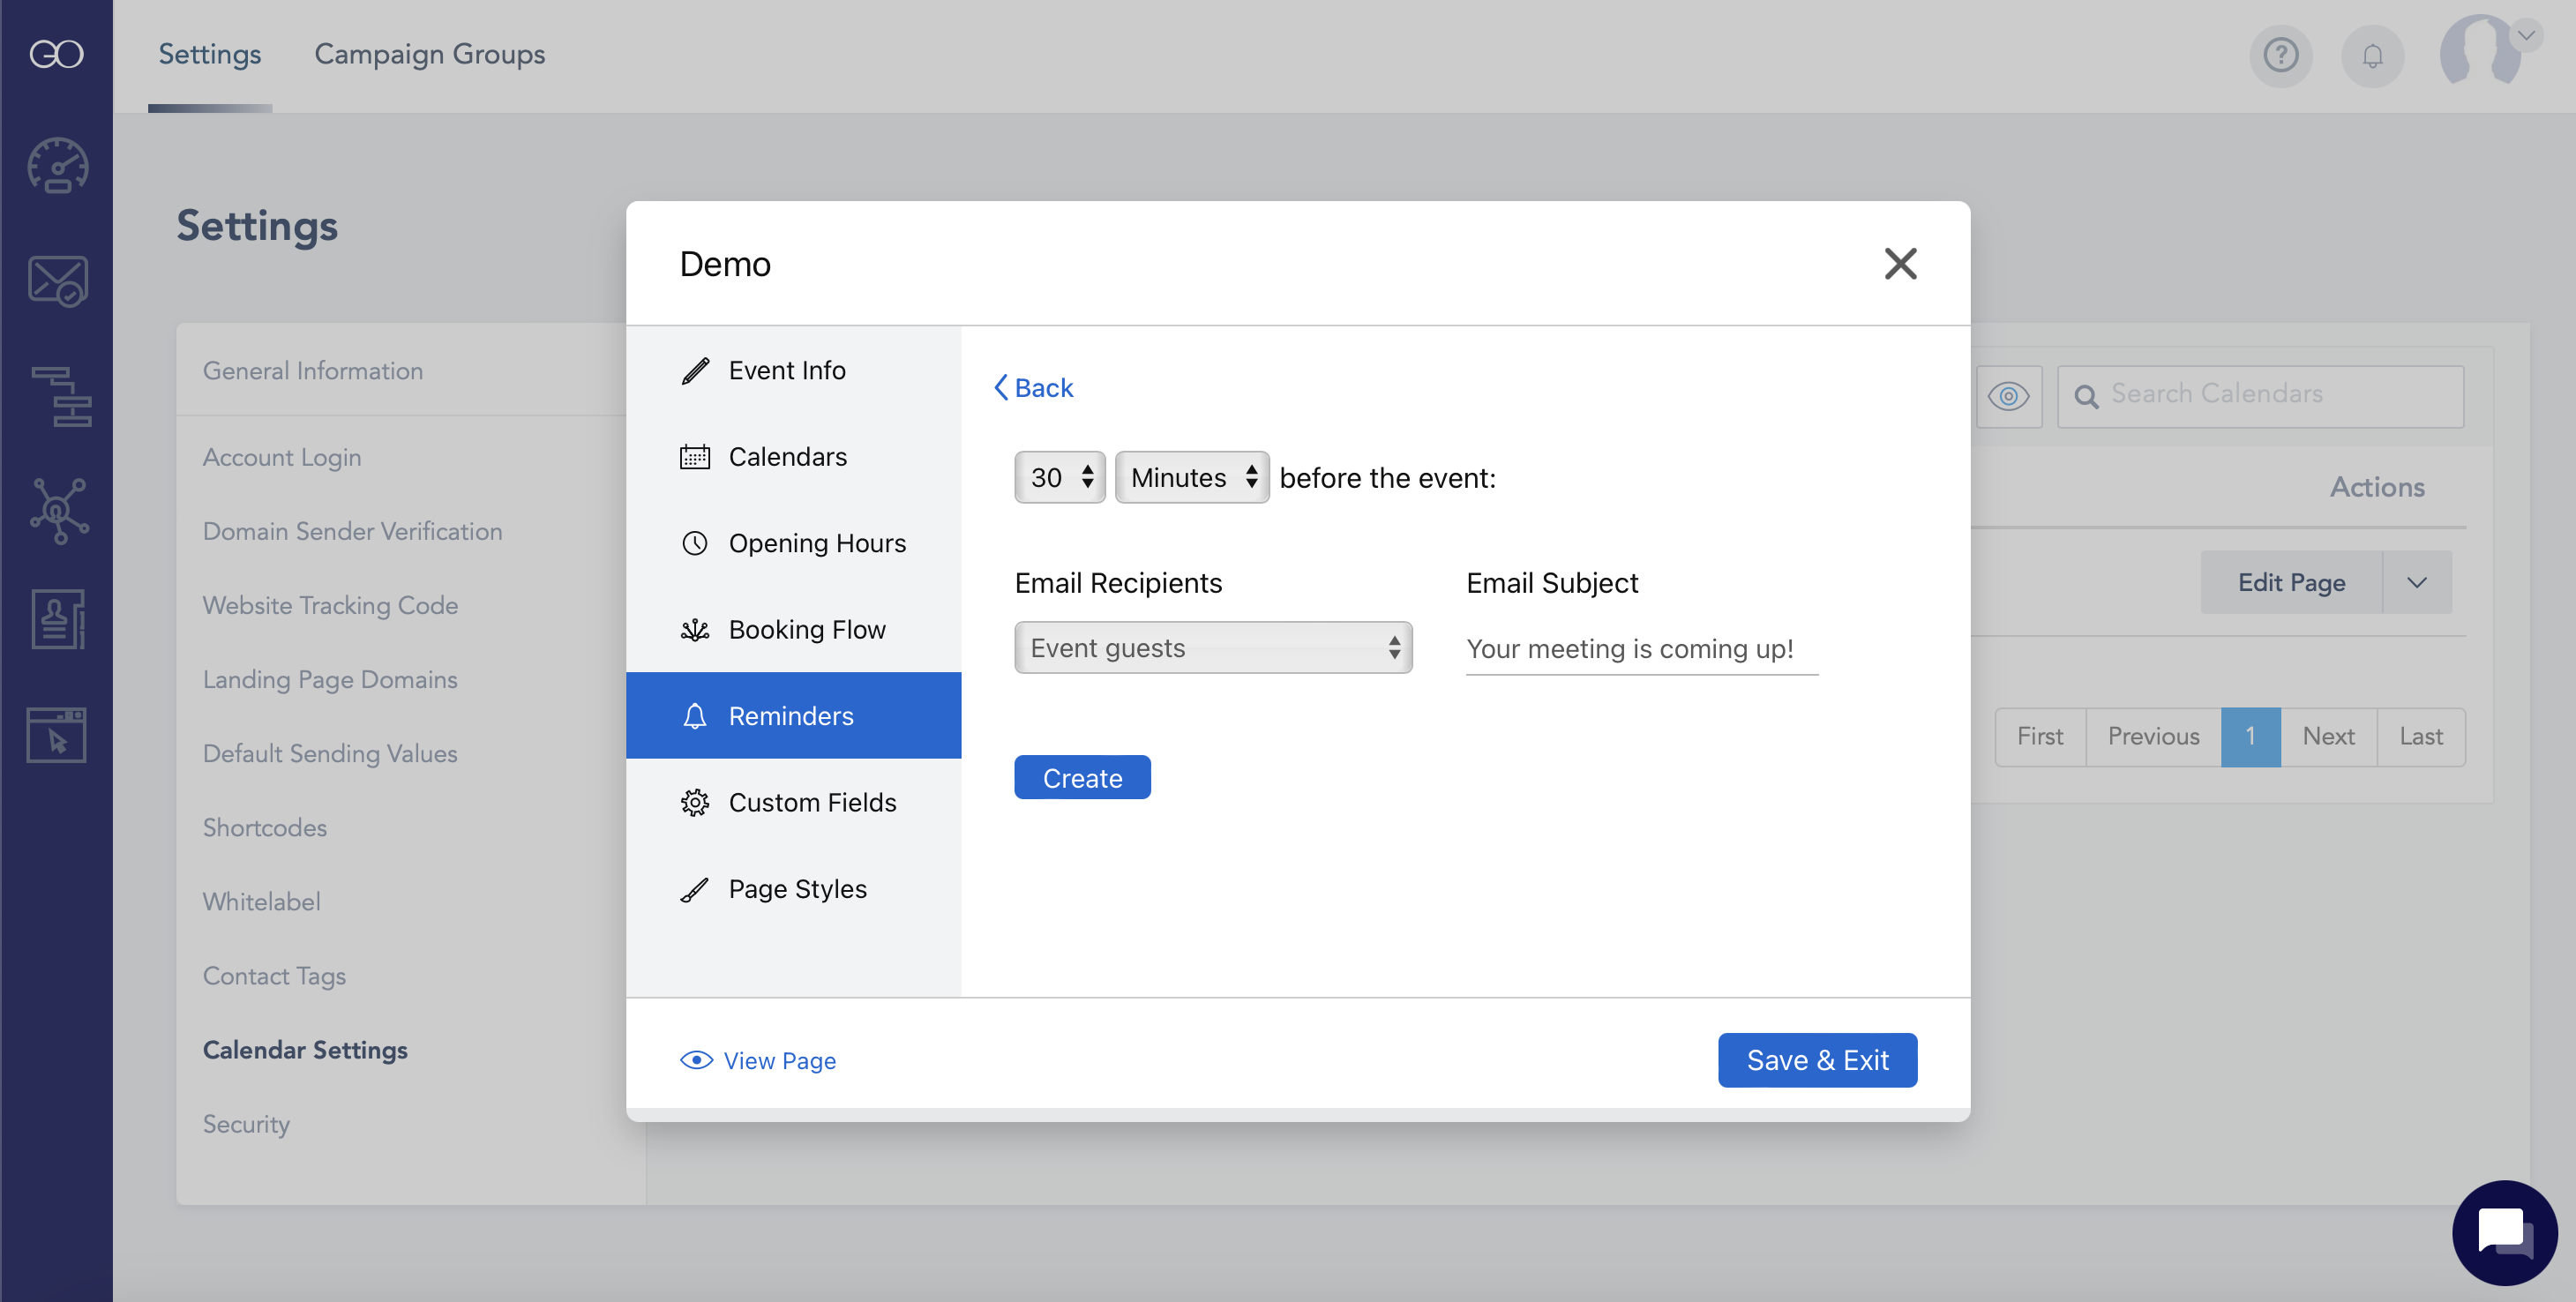
18. You can also customize the information fields that will be provided by guests. You can click "Add Field" if you wants guests to provide more information. 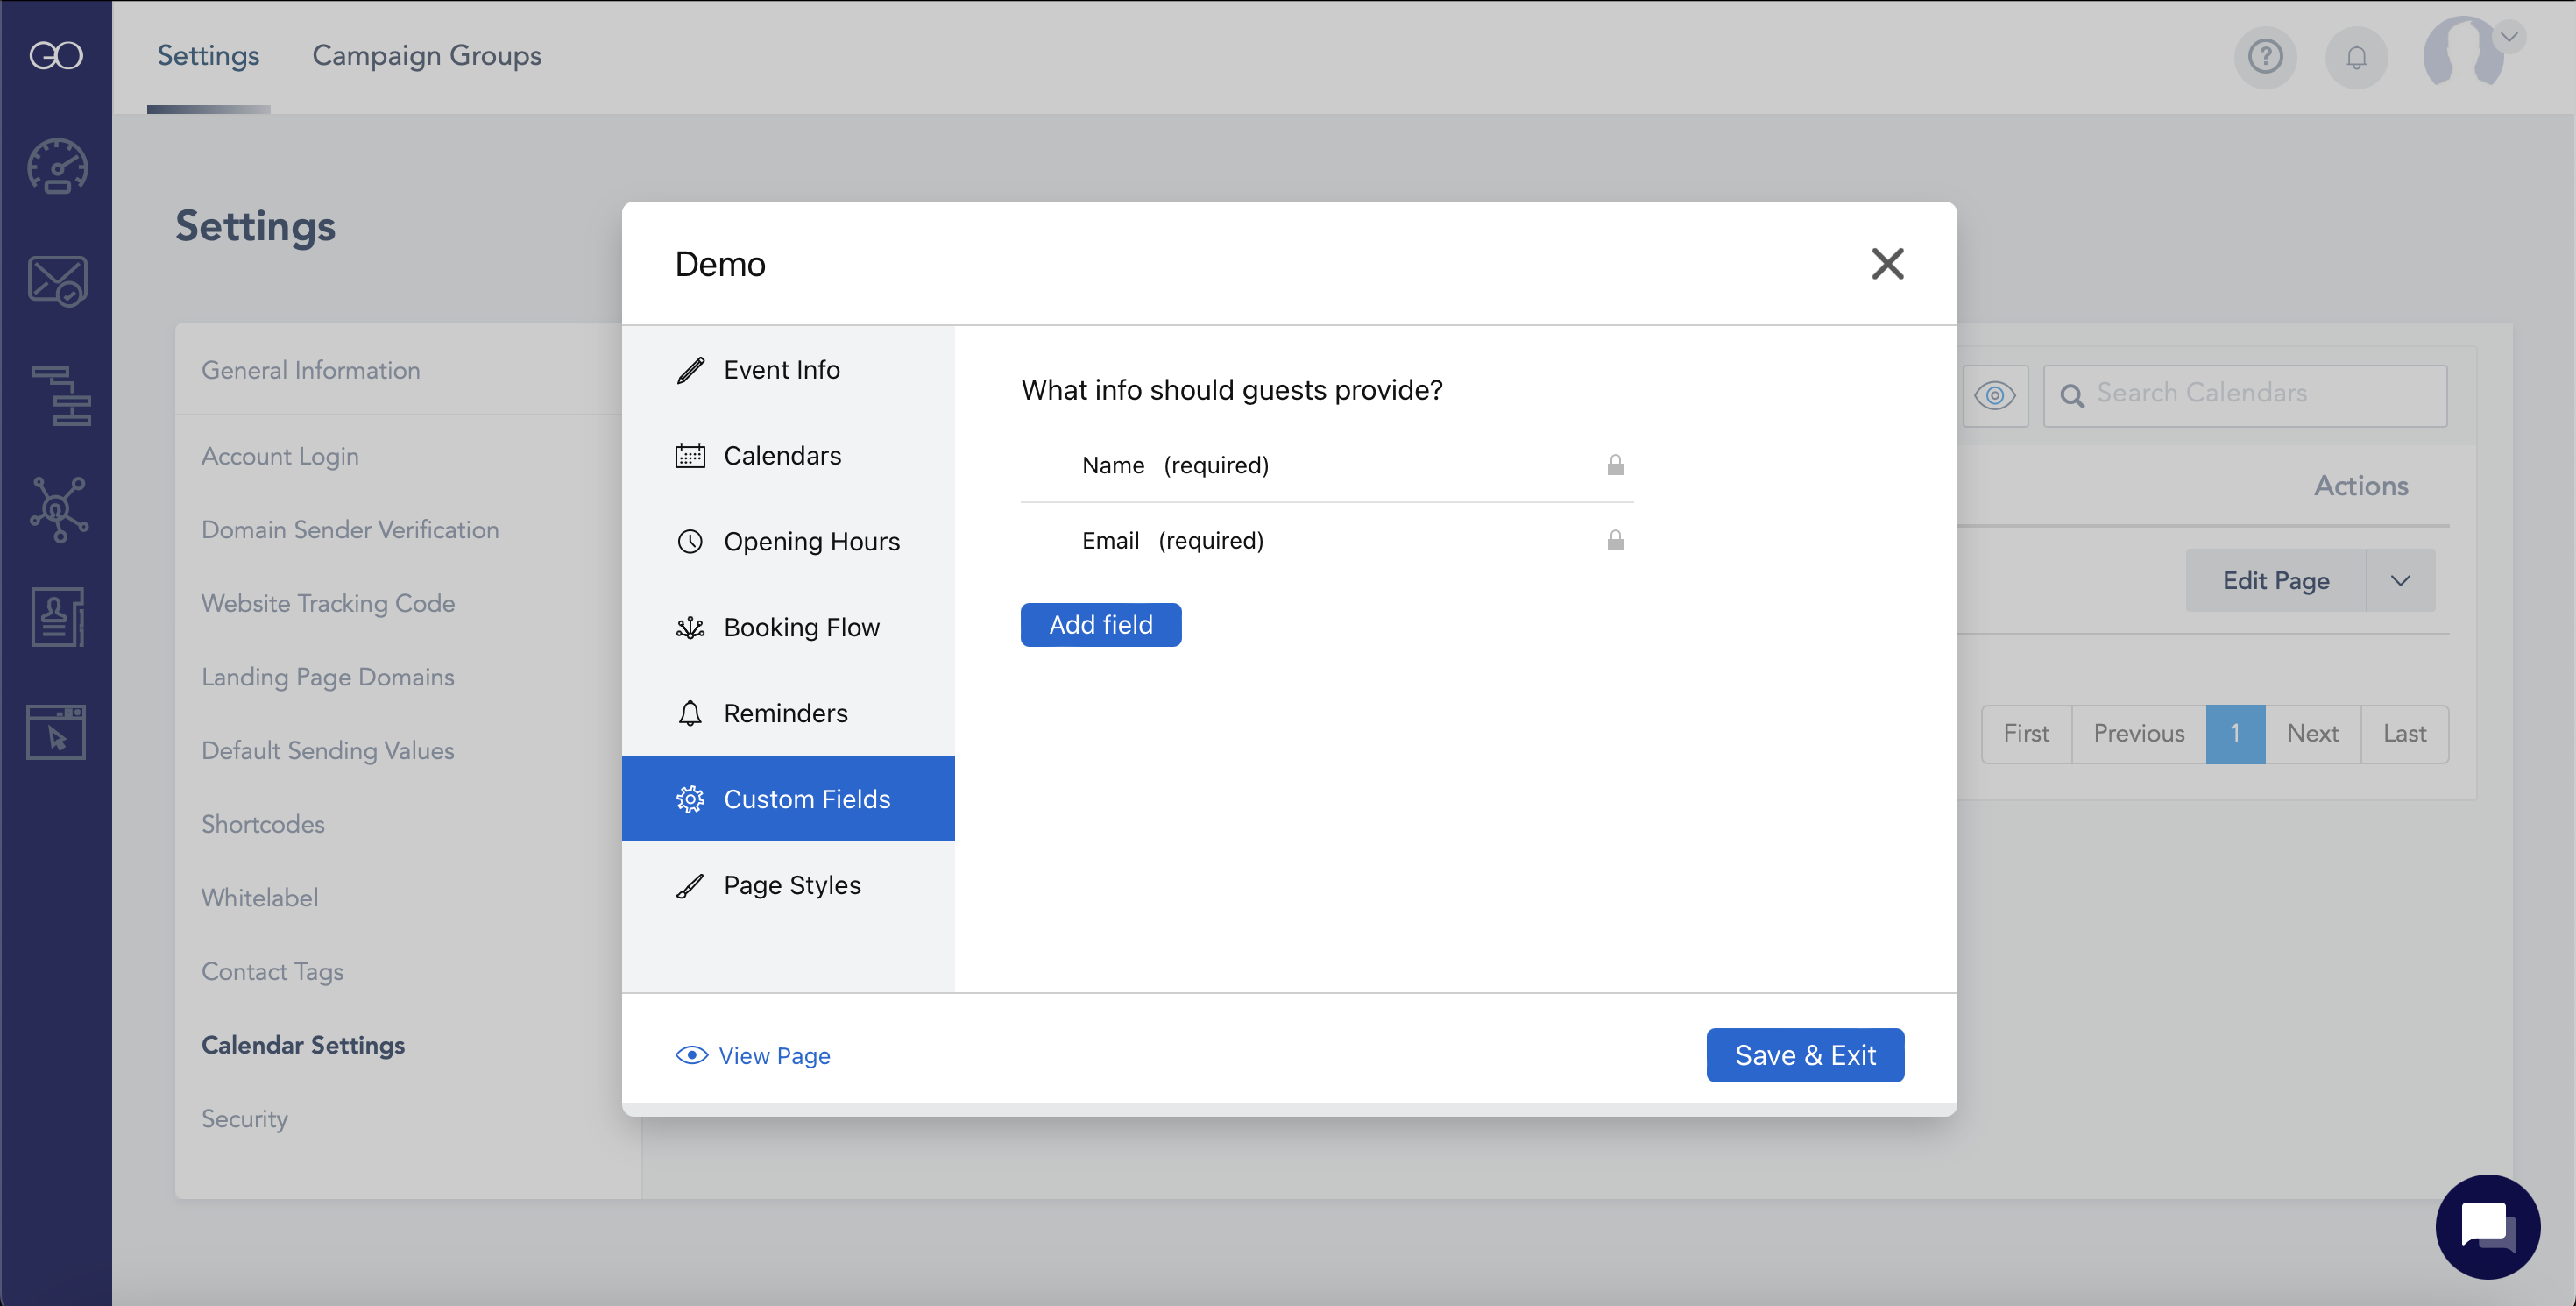
19. Clicking "Add Field" will take you to this page, where you can add an additional slot of information to be provided by guests. 
20. Finally, you can edit the style of the page by clicking the "Page Styles" button located just below the "Custom Fields" button. Here, you can further customize your calendar page by editing the "Theme color", "Submit button label", and "Thank you message". Select "Save and Exit" to confirm these settings. 21. You will then be taken to the page shown below. You can add a "Default Contact Tag" as well as adding meeting registrants to a list. Click on "Select List" to do so. Adding a default contact tag is optional, while selecting a list to add registrants to is required.
 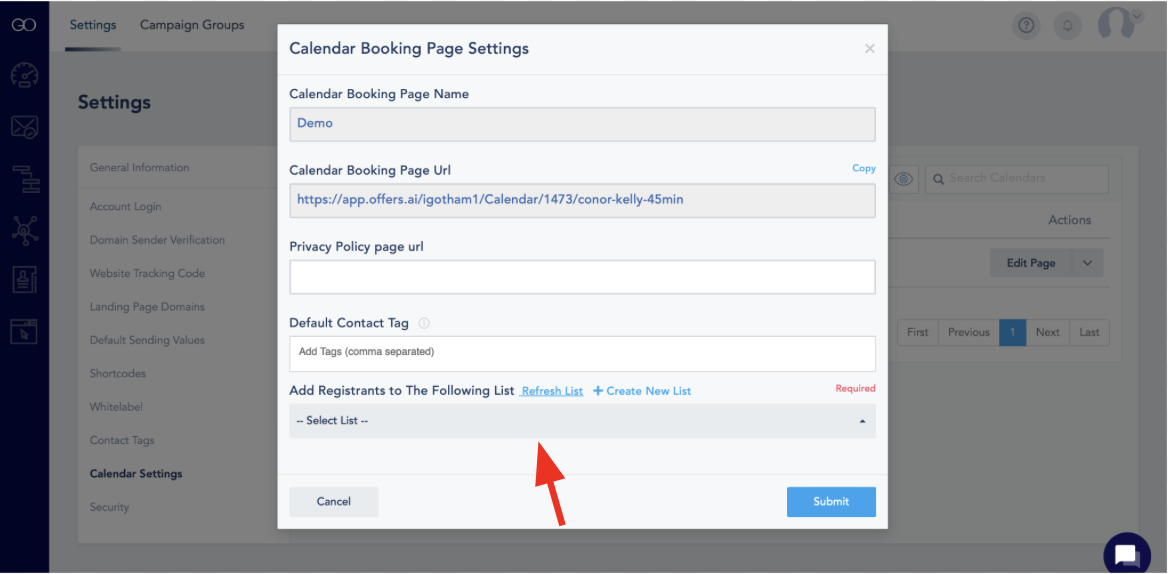 22. Next, select the list you'd like to add meeting registrants to.
 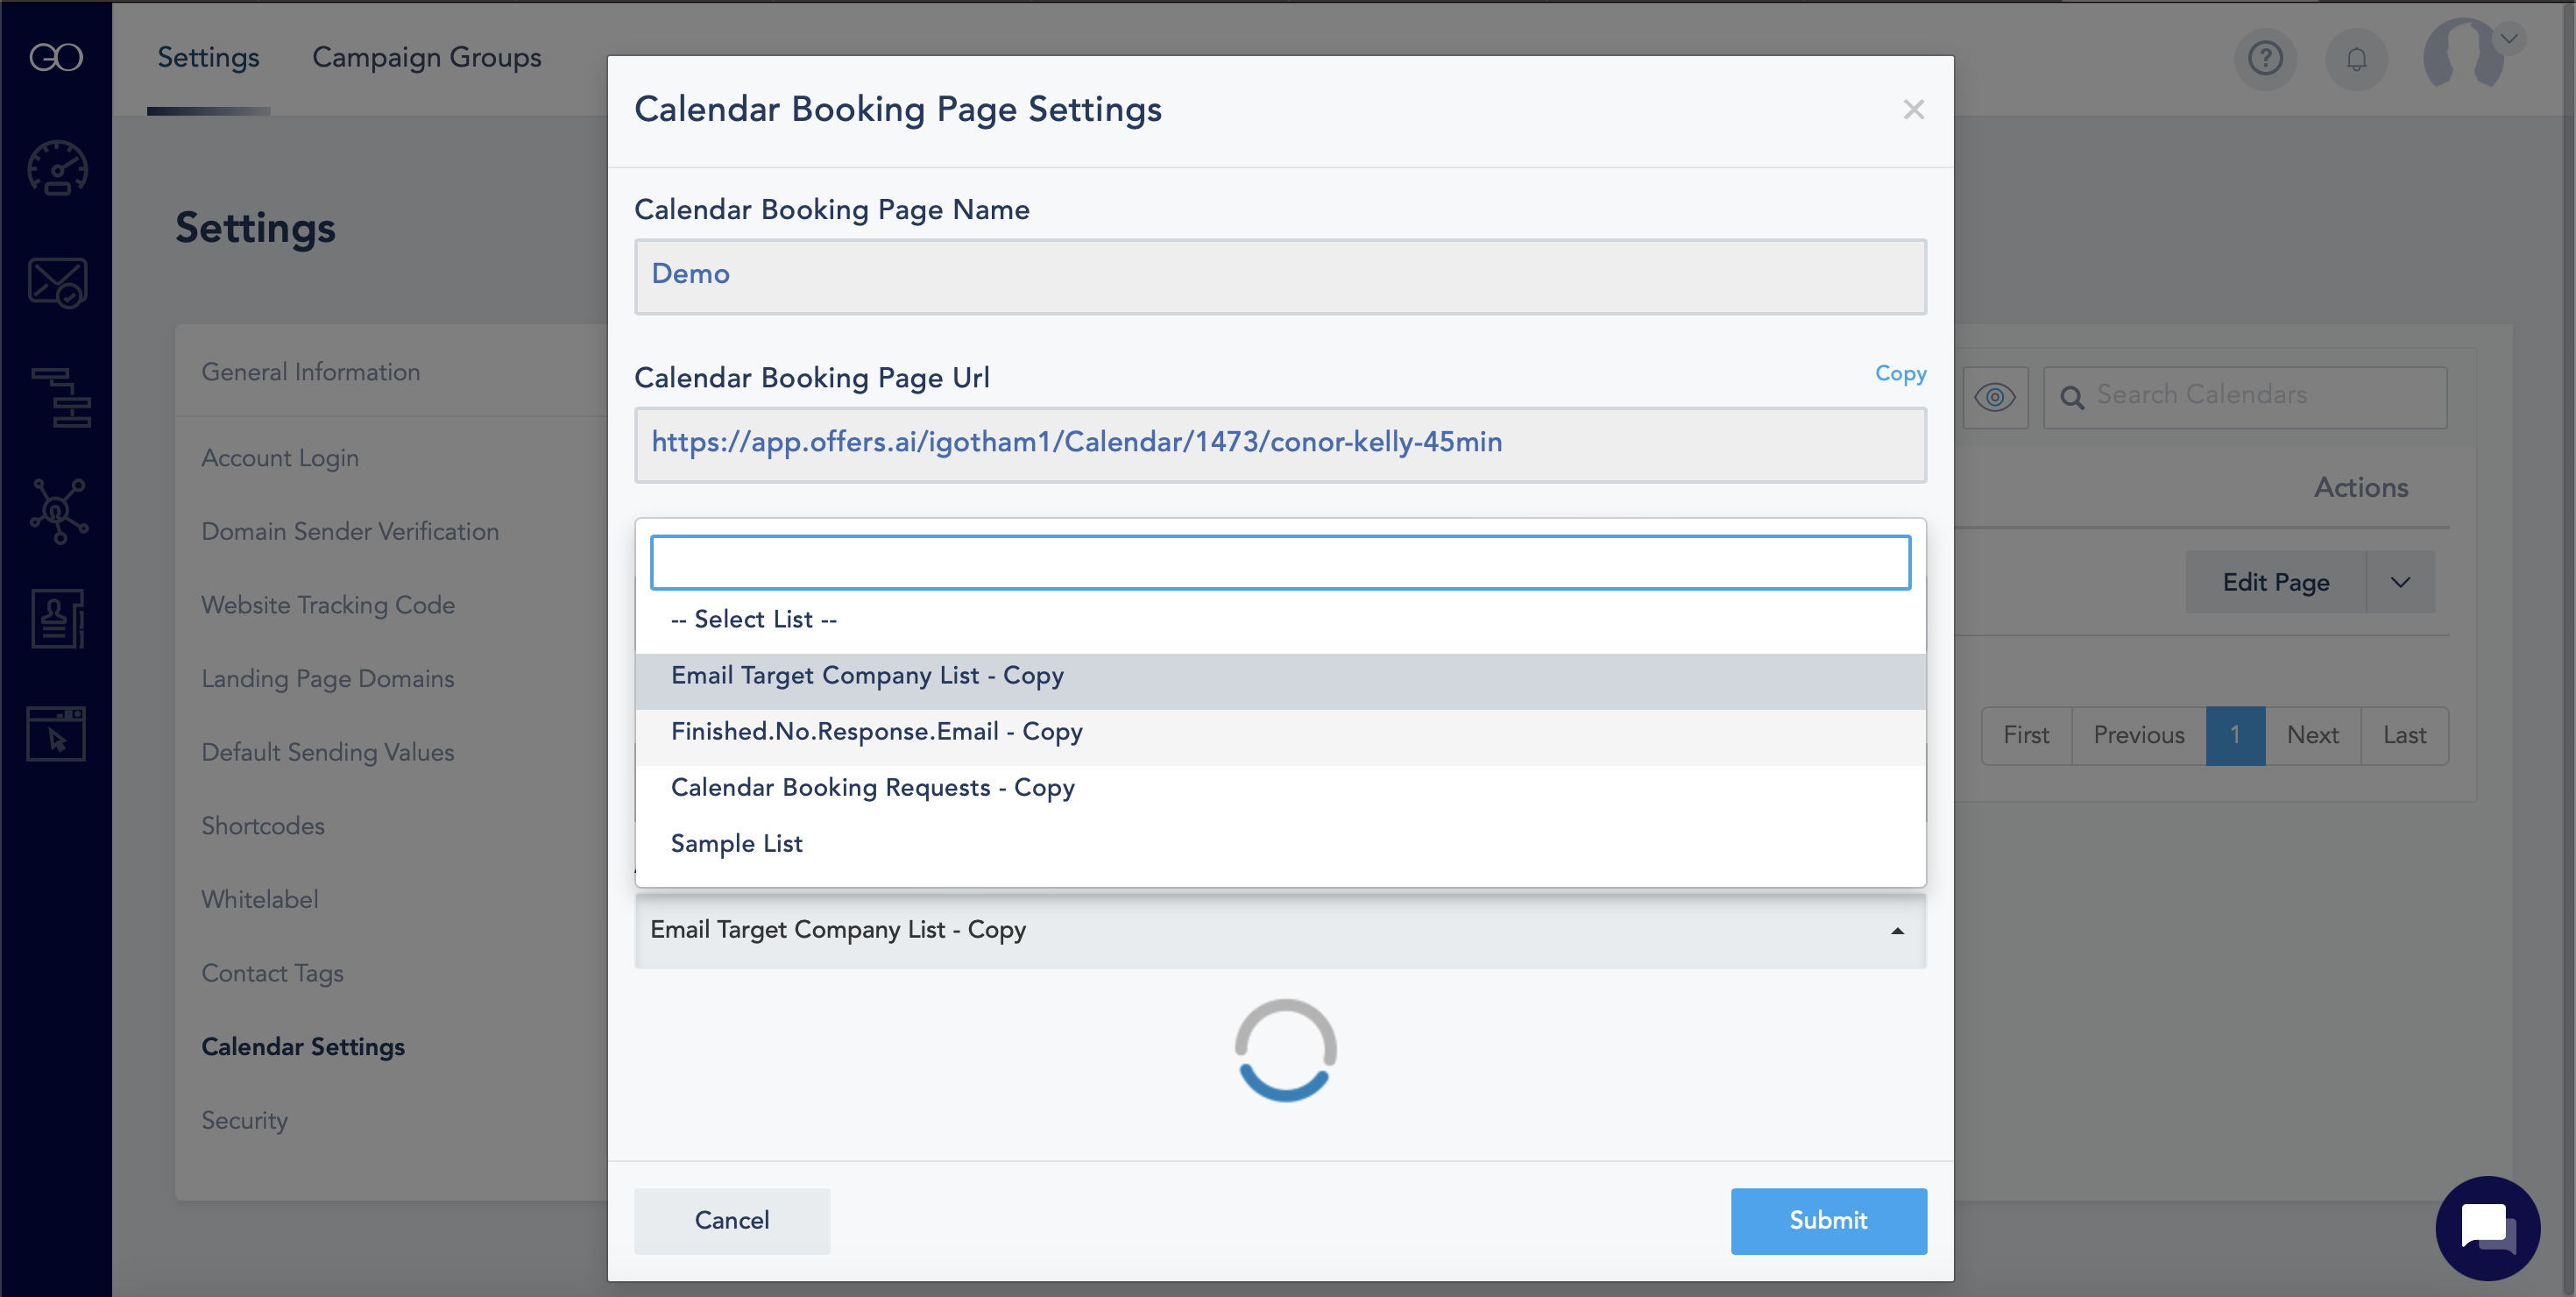 23. After you have done this, click submit, and you're all finished! You can then click on your calendar link to see how others will view it.
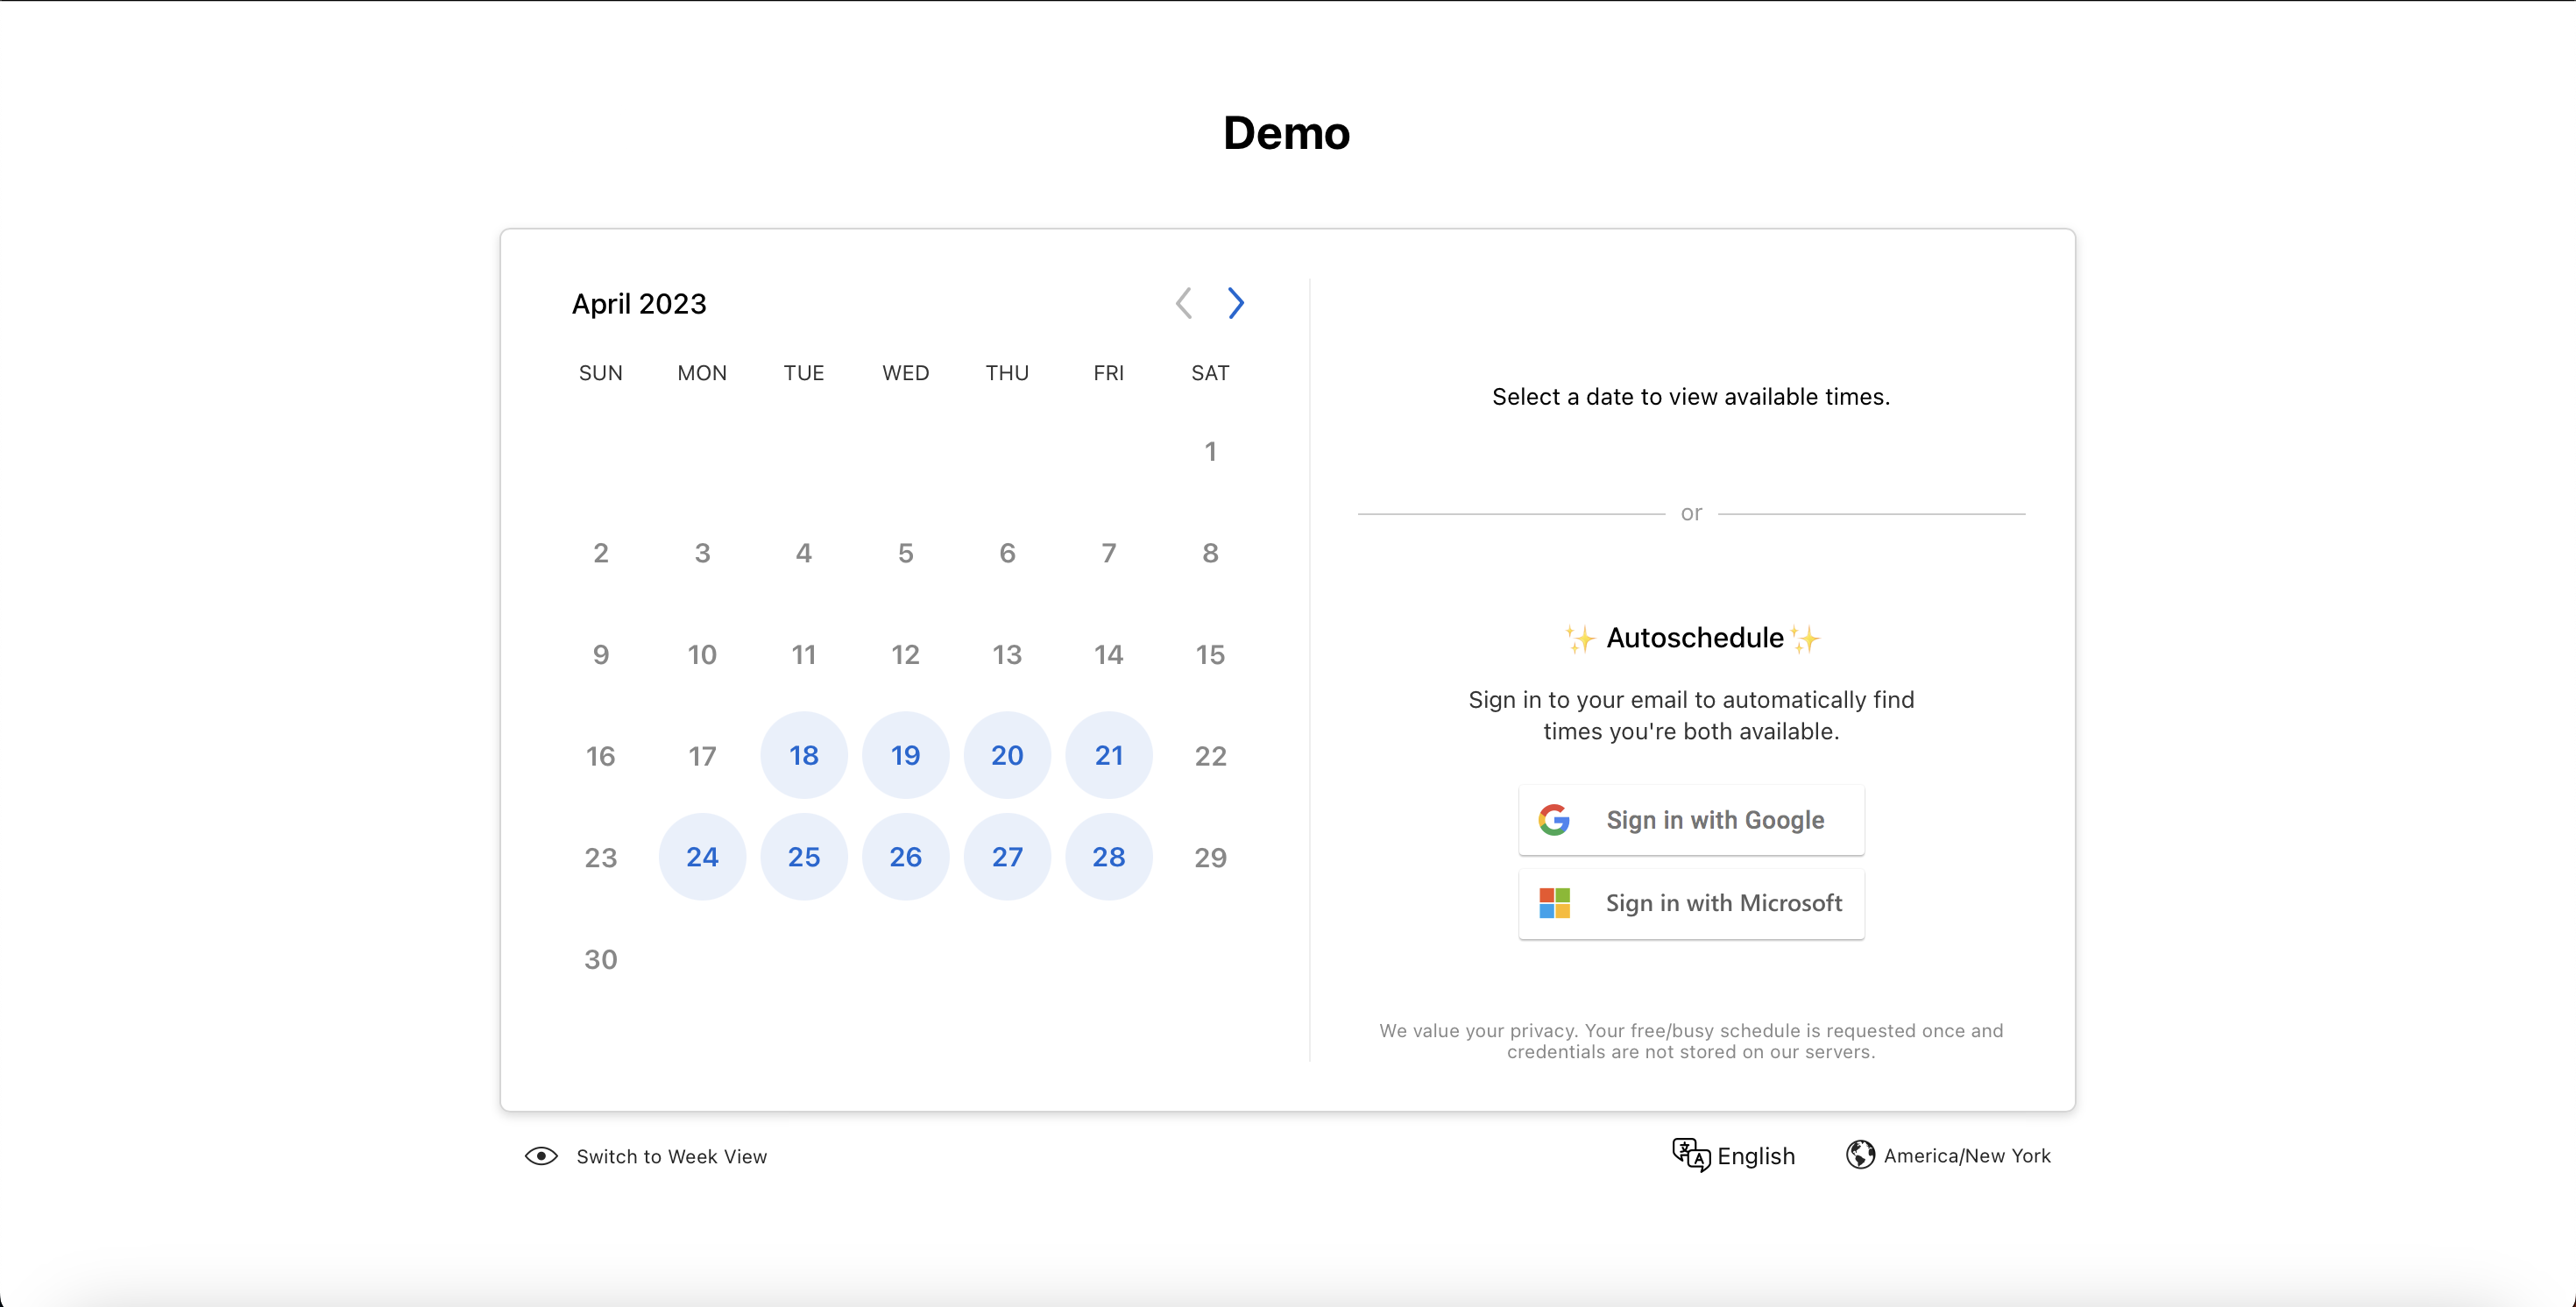
 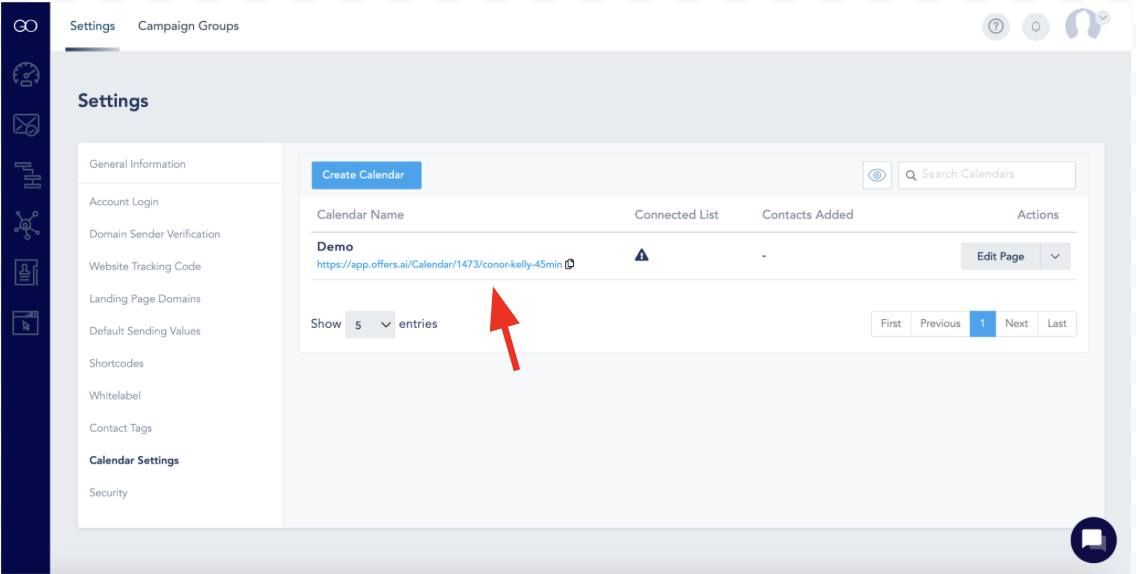 24. It should look something like this!
 Congratulations, you have created your own scheduling calendar! Thanks for reading.