


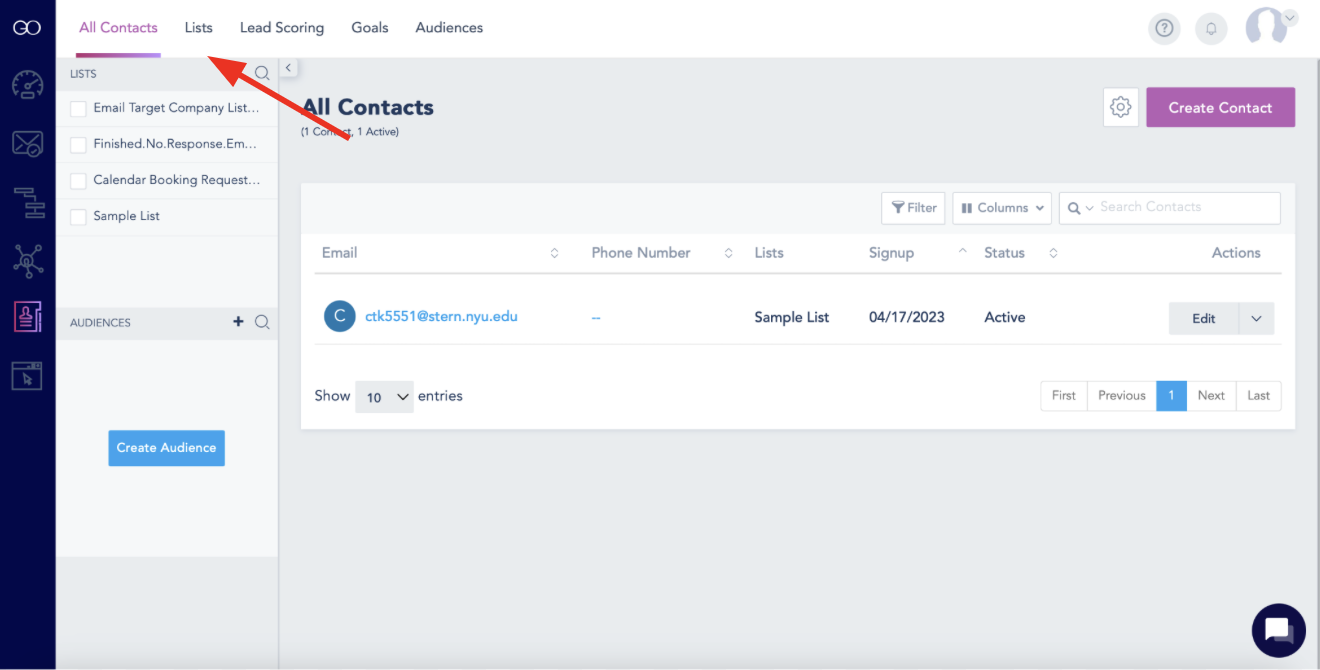
1. Starting from the dashboard, click the contacts button 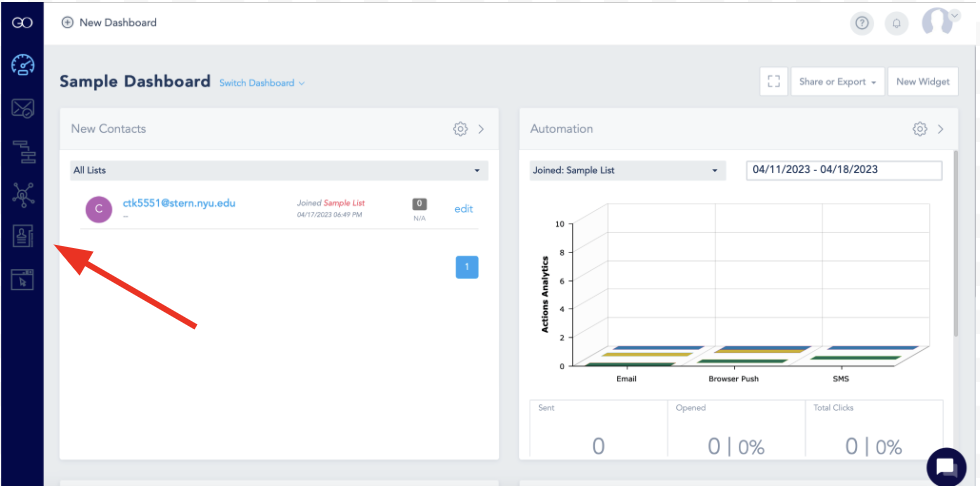 2. Once you're in the contacts page, click the "Lists" button located at the top of the screen
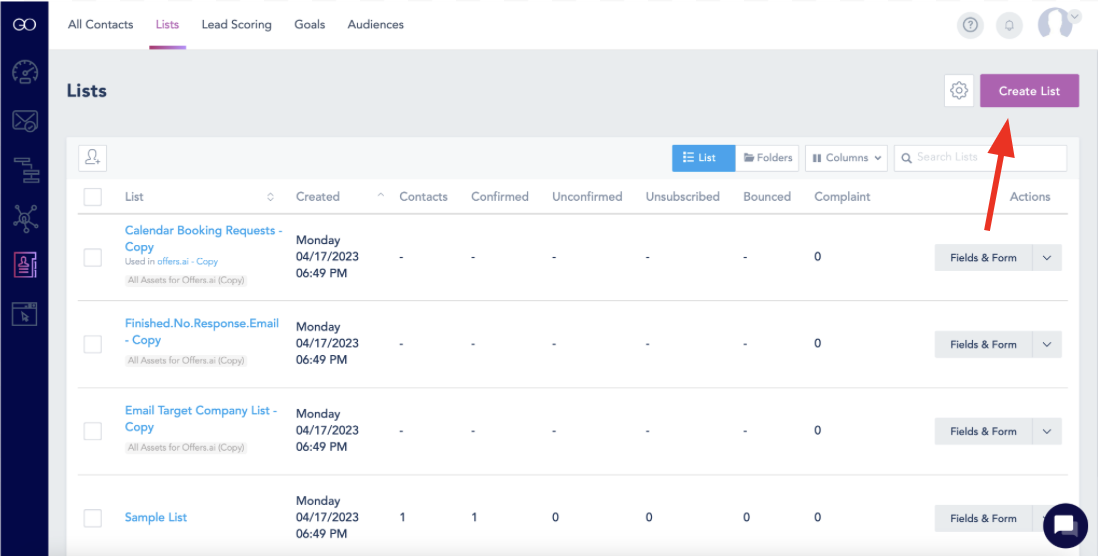
 3. You will be taken to the screen shown below. From here, click "Create List"
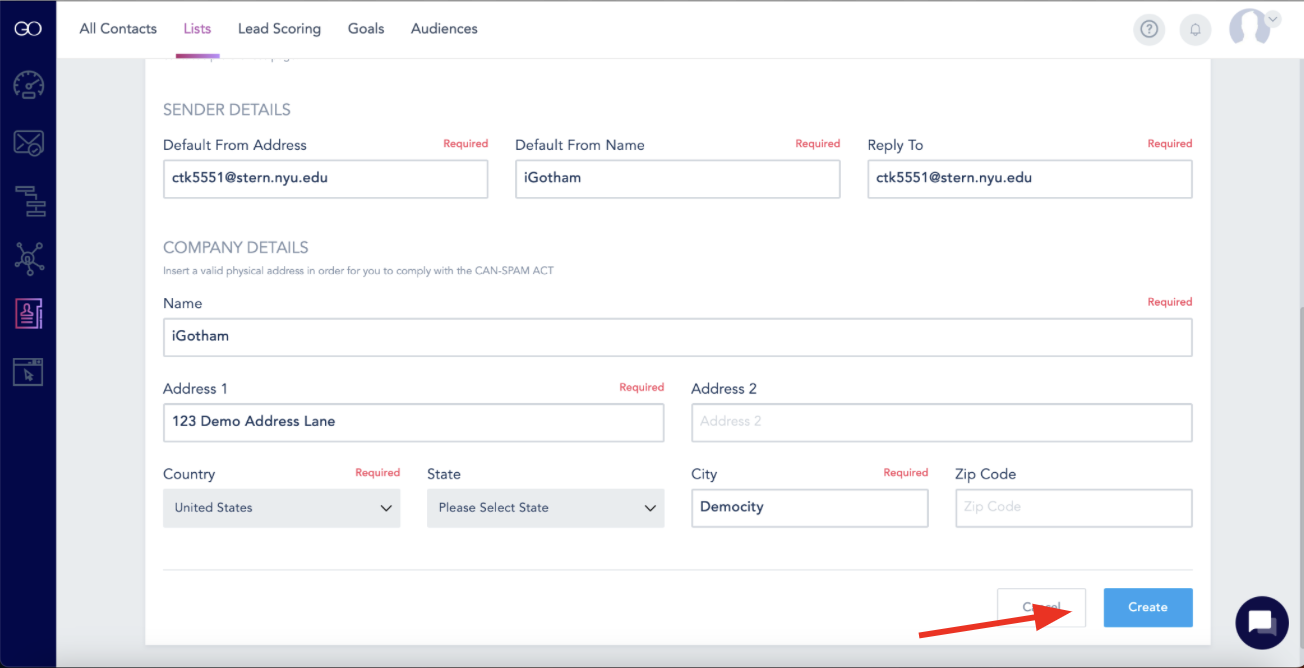
4. From here, you can customize your lists name, description, sender details, and company details.
Note: There are two types of lists: internal and front facing. Internal lists won't be seen by customers, while front facing lists will. It is important to keep in mind which type of list you have created when customizing it to your liking.
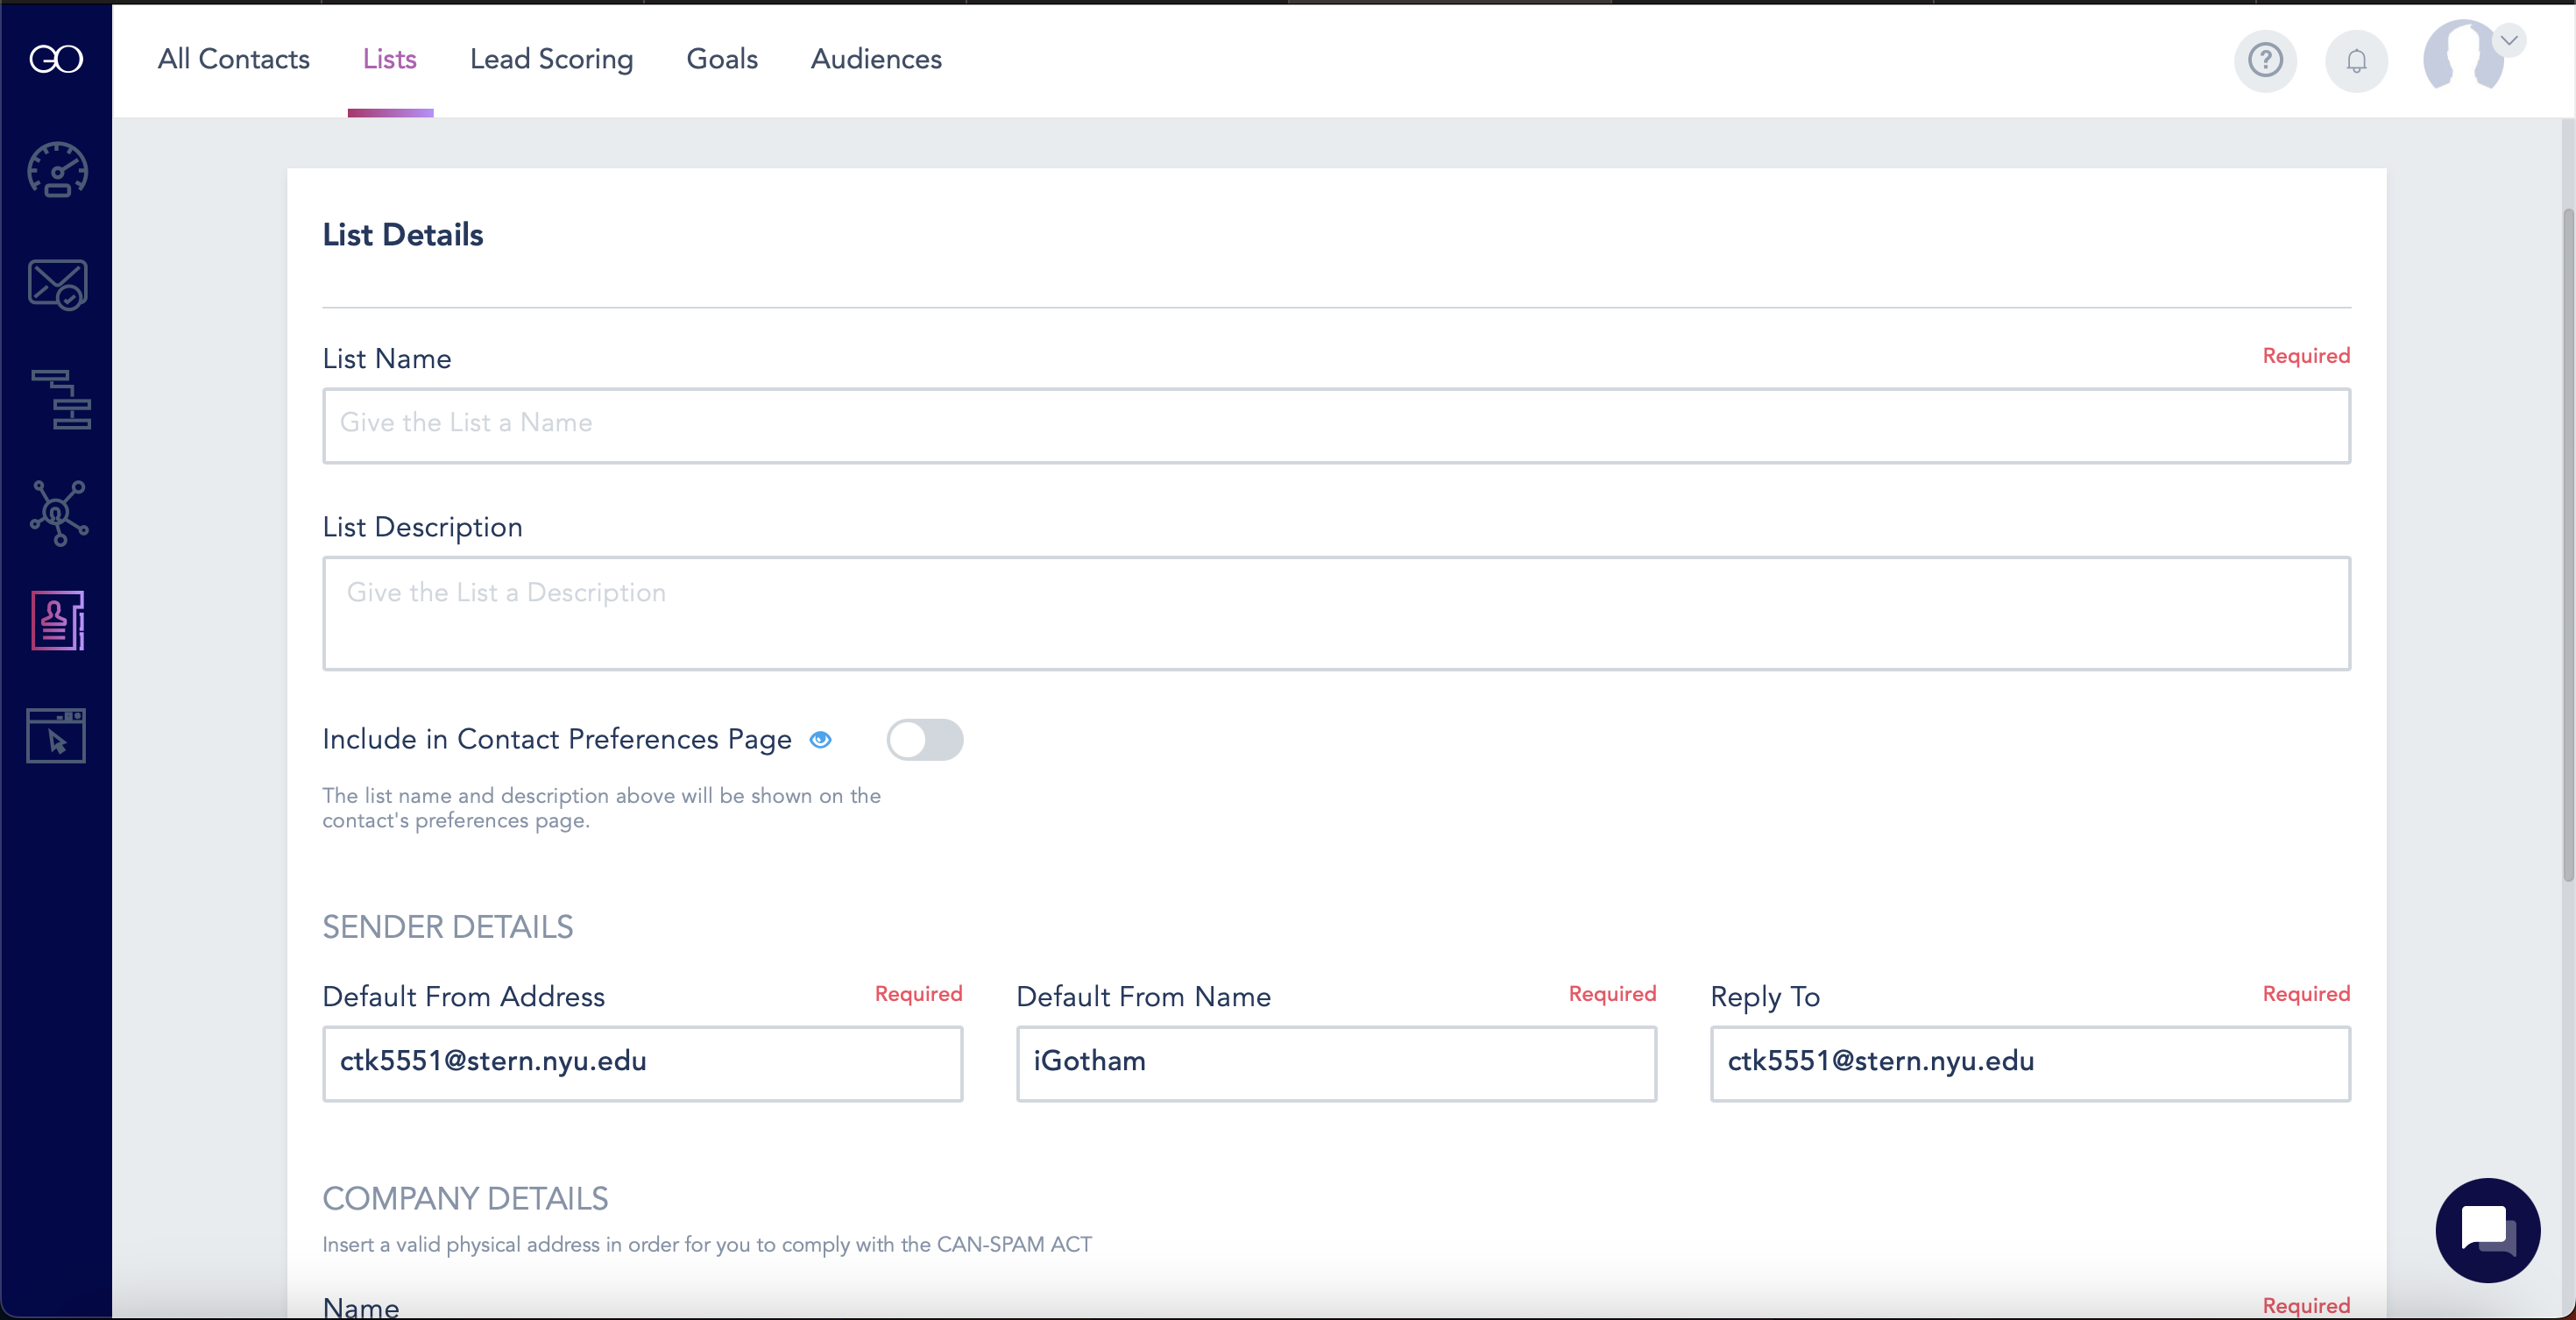
5. If you are creating a front facing list, click the eye logo located to the right of "Include in Contact Preferences" to customized how your contacts will see your list. Make sure the button to the right of this is turned on if you want your contacts to see the list.
6. Here, contacts will be able to update their email preferences.
 Note: This page will only be included in the footer of the emails you've sent to your contacts if you have the "Include in Contact Preferences Page" button turned on. See how to do this in the previous step.
7. Once everything is filled out to your liking, click the "Create" button in the bottom right.
 8. Next, your list will appear on the "Lists" page. From here, go into your newly created list's "Form Builder" by clicking the "Fields & Form" button
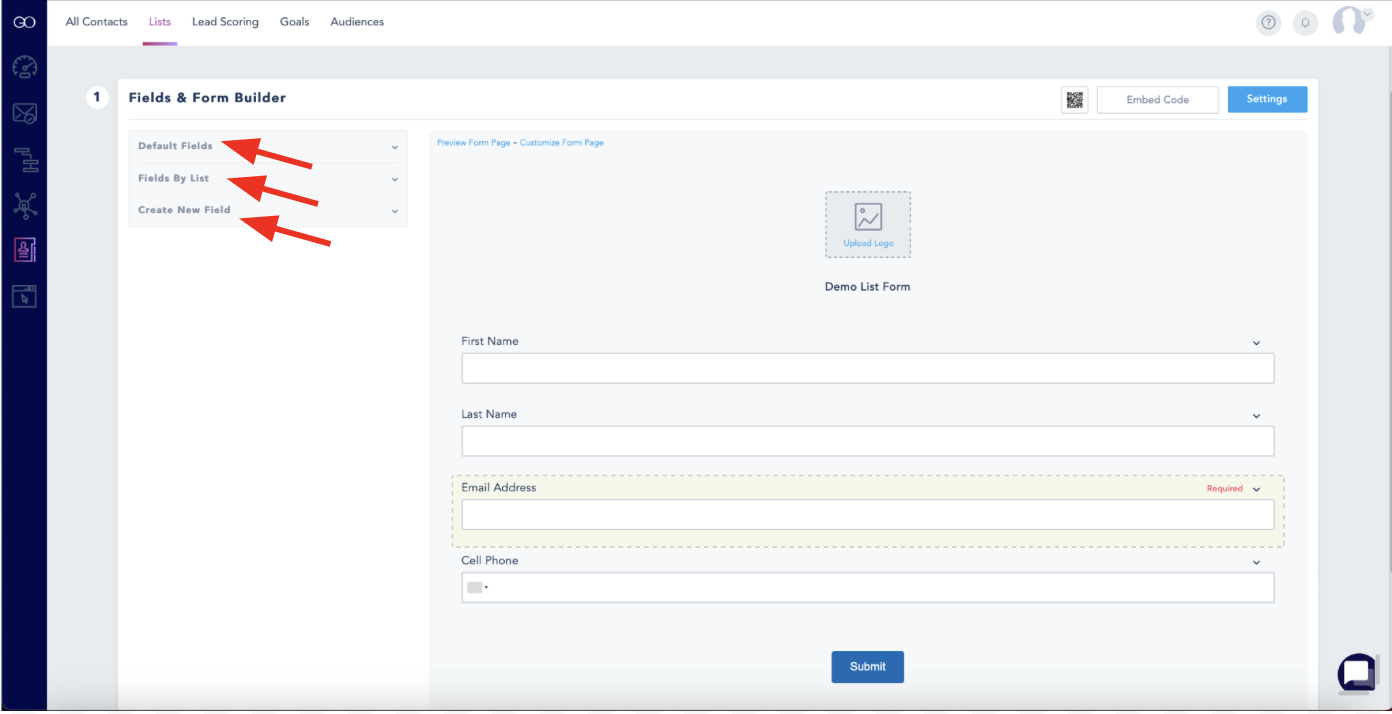
 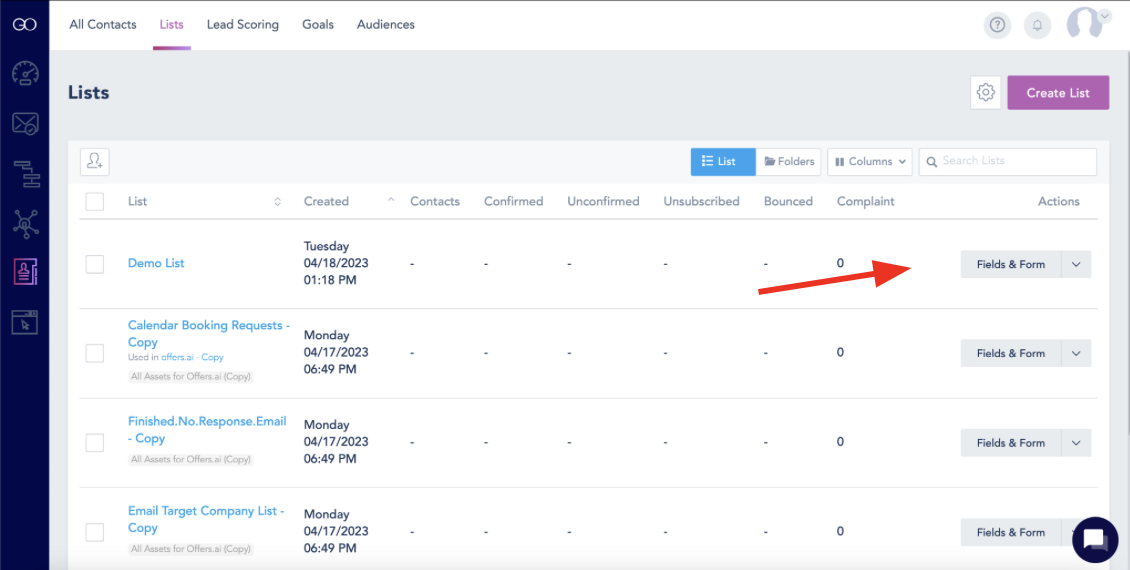 9. Here you can fully customize the fields required for each contact in your list. The default set of fields include: First Name, Last Name, Email, and Phone Number. You can add more default fields, fields sorted by list, or even create your own new field. You can also delete fields to your liking.
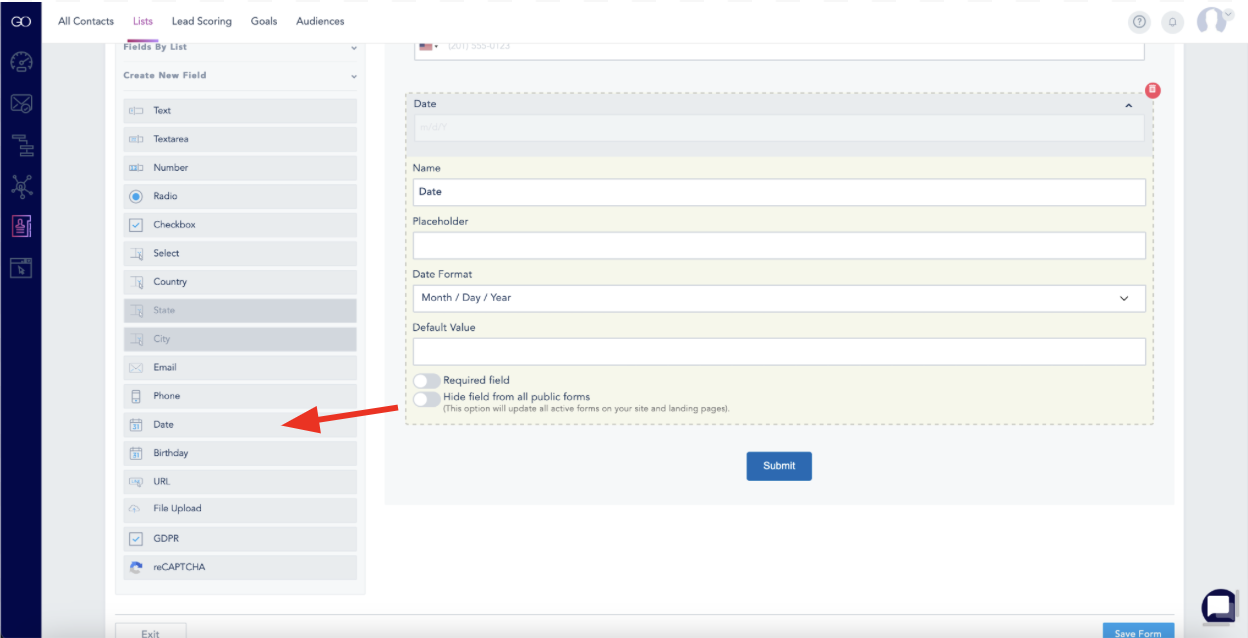
10. Here are some of the possible default fields you could potentially add to your list: 
11. You can also add a date field to your list by clicking "Date" under "Default Fields". This is incredibly useful for further specification of your list segmentation.
12. Once you're done customizing your form, click "Save Form". 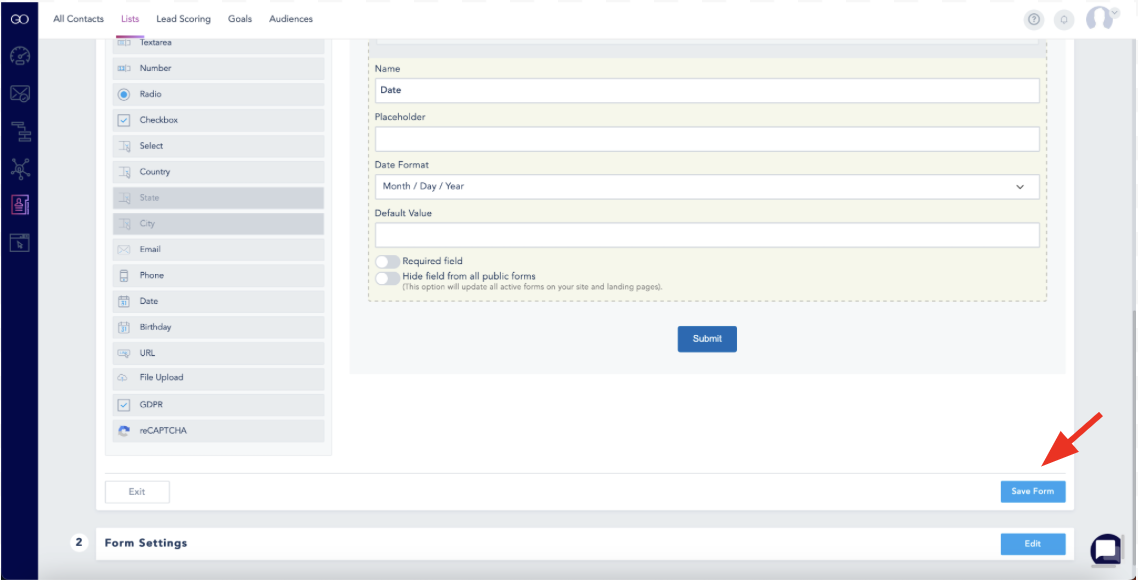
13. You can preview how your form will look to your contacts by clicking "Preview Form Page"
 14. Here is an example of what a form preview might look like:
  Notes: This is exactly what your contacts will see, so make sure it's fully customized to your liking.
15. Next, you can also edit your form settings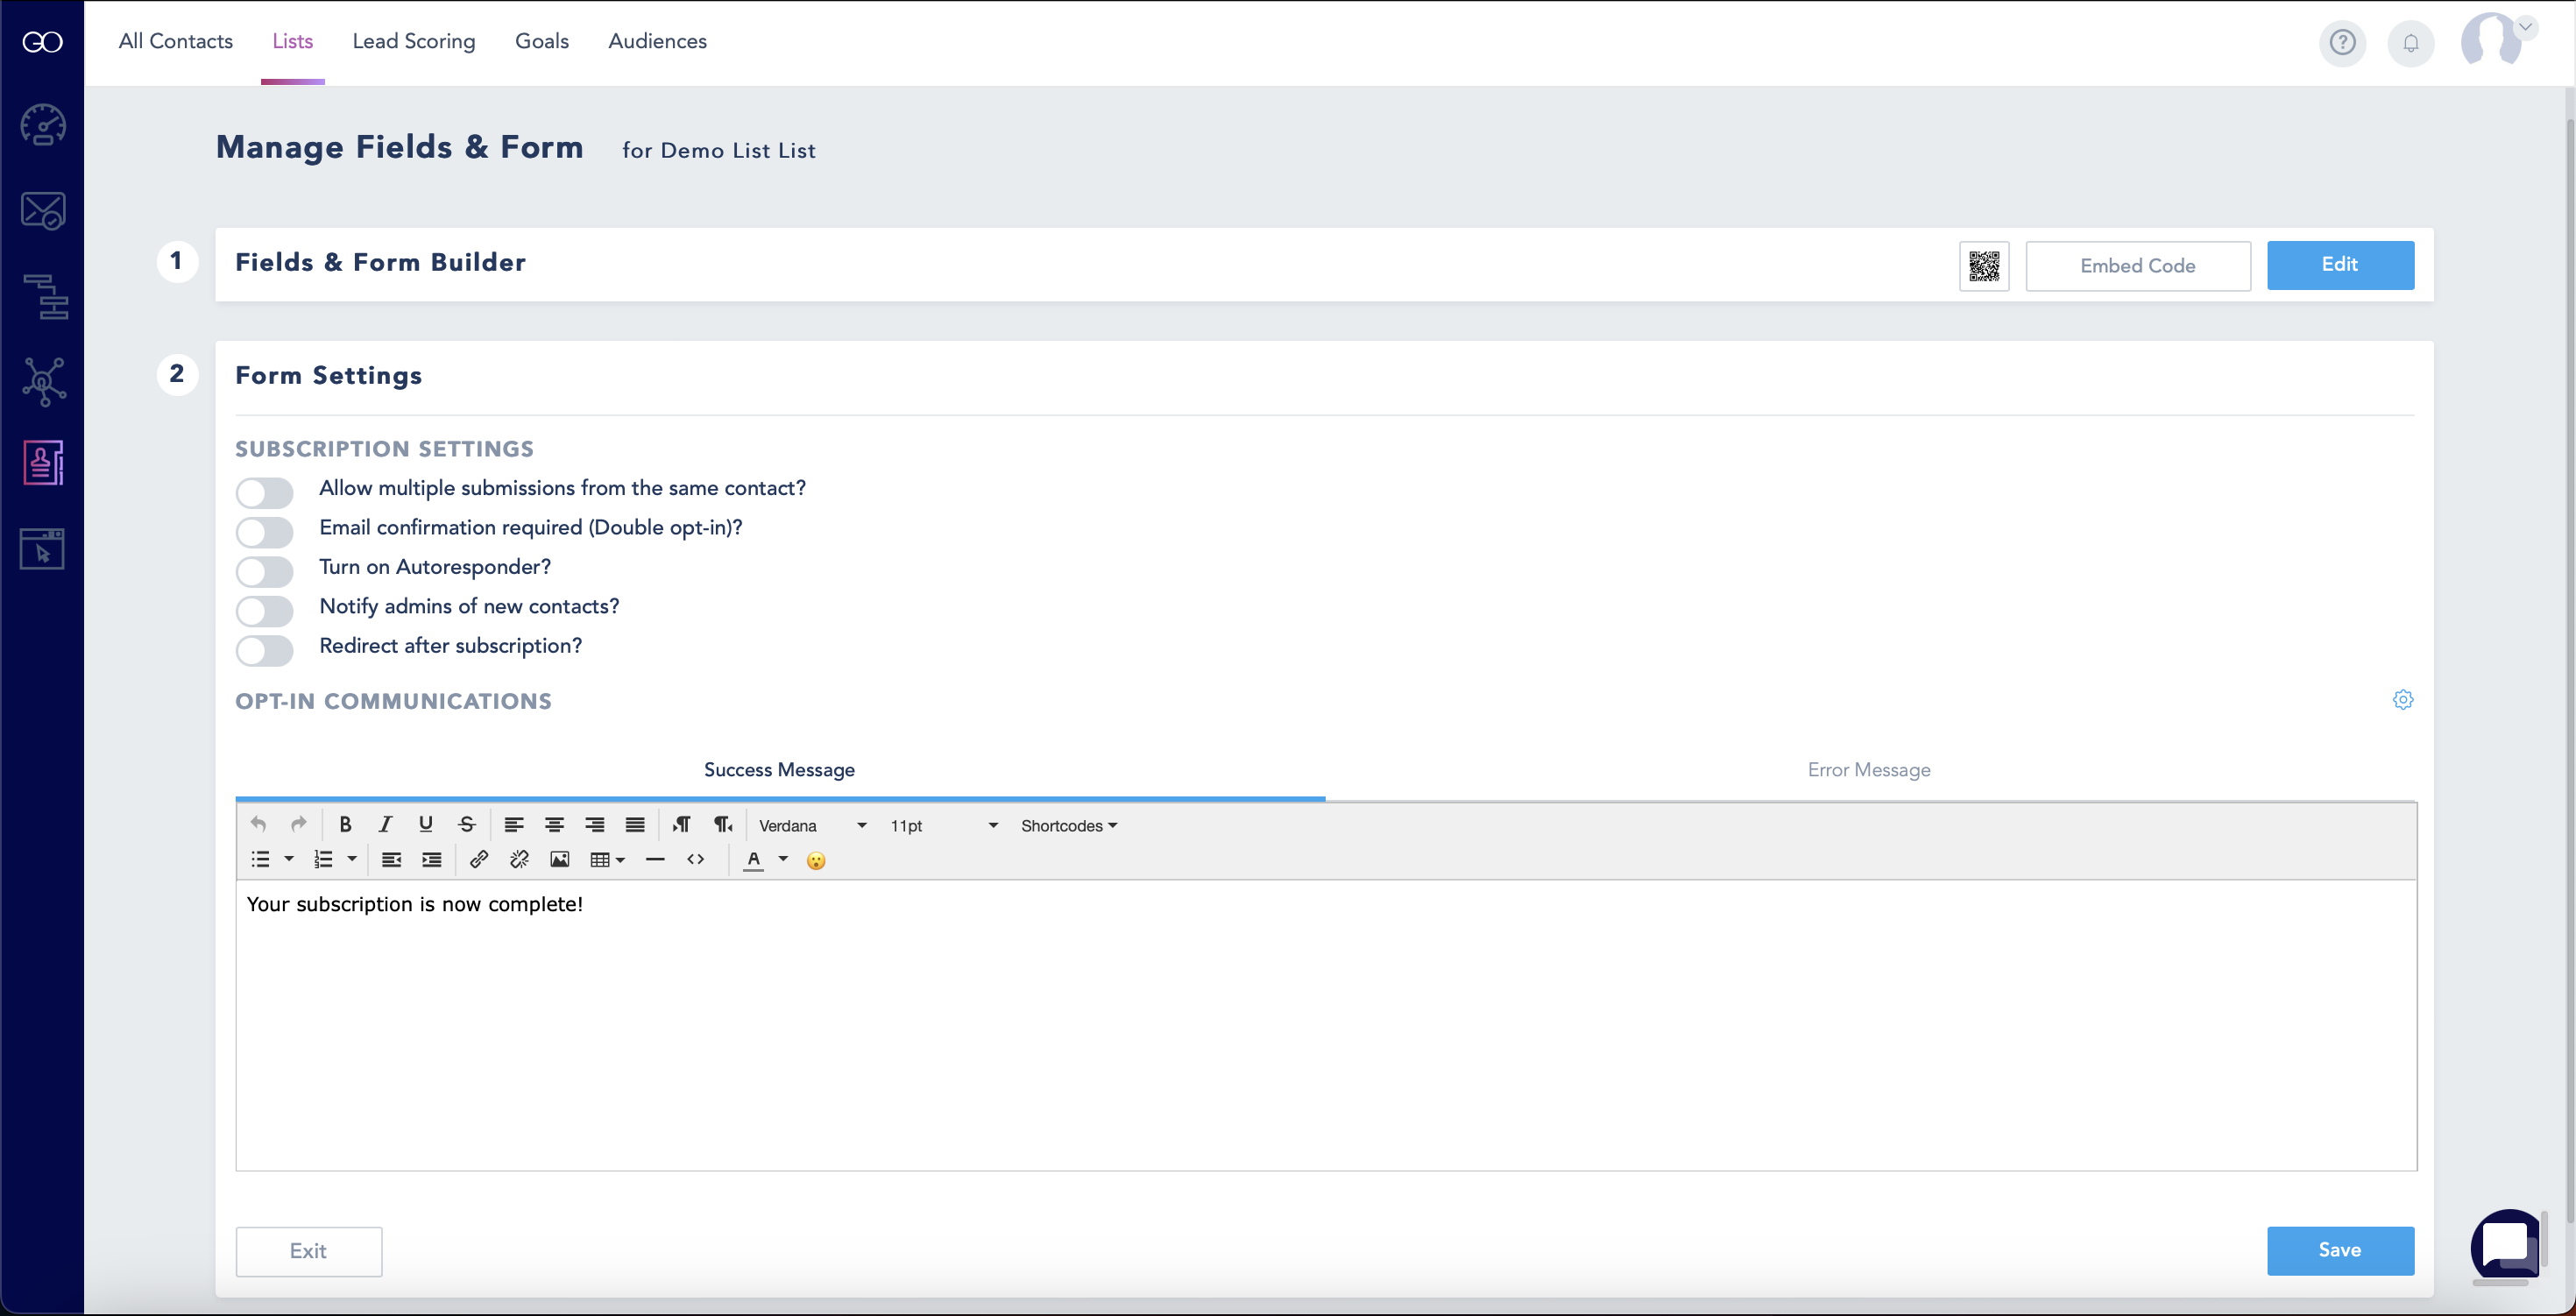
16. Once these are all customized to your liking, click the blue "Save" button in the bottom right corner of the screen
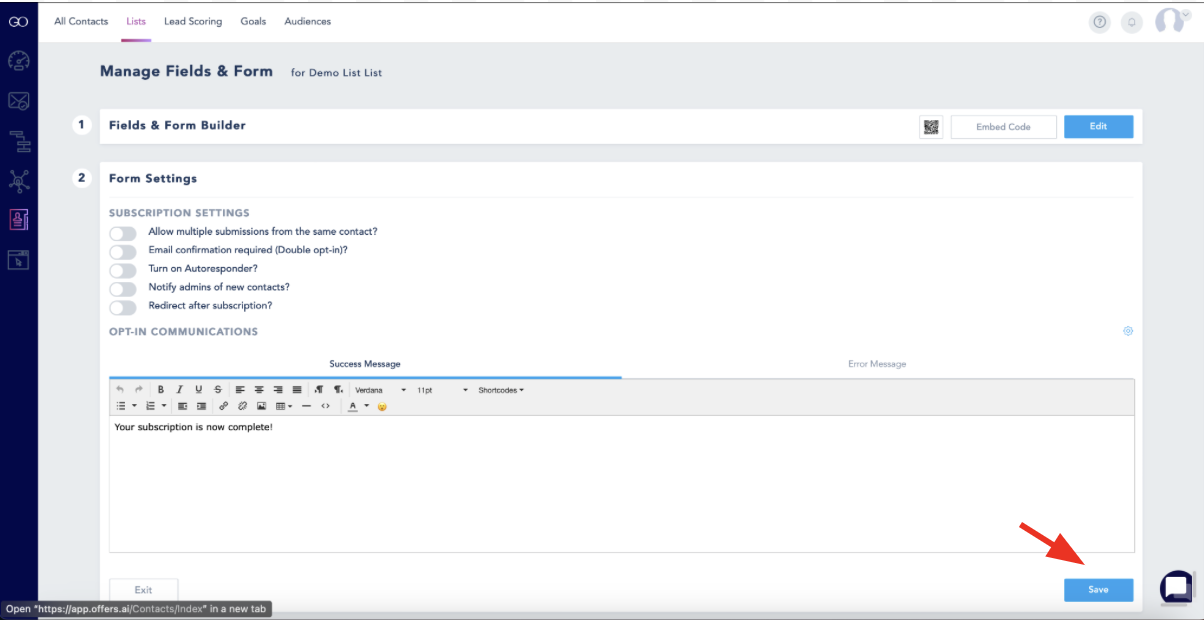
17. After saving your edits, you are all set! Be sure to make as many adjustments in both the Field & Form Builder section and the Form Settings section as you feel are necessary for the success and effectiveness of your list.
Congratulations! You have successfully created a new list that is ready to be put to use. Thanks for reading.