


Hi Welcome to the Knowledge Base! Today we are going to learn how to create and organize boards and tasks pipelines, stages, types and etc... I would like to introduce you to this powerful platform -- VBOUT. It has an integrated pipeline manager that can be used for different purposes. Here, I will show you how to create and organize boards and manage them to different stages in the pipeline.
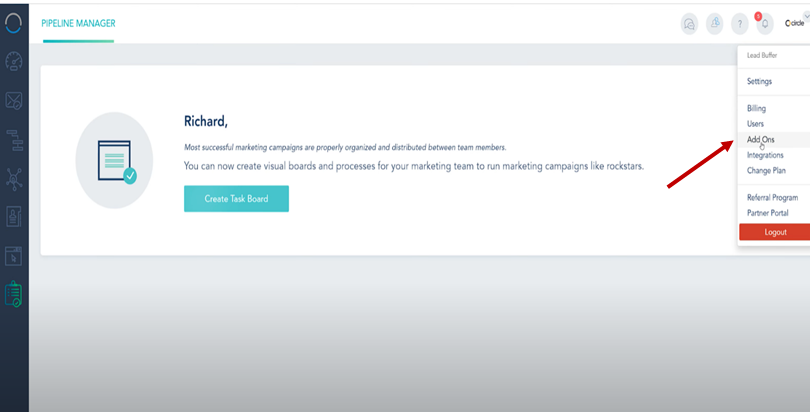
Go to your add-ons and you can find the pipeline manager there. Make sure you have your add-ons installed.
“The In Progress” and “In Review” are not configurable but everything else in between is and you can add multiple maybe “Contract” or “Negotiation” here. You can also manage the colors and the colors code will apply to the Pipeline View which I’ll show you in a second.

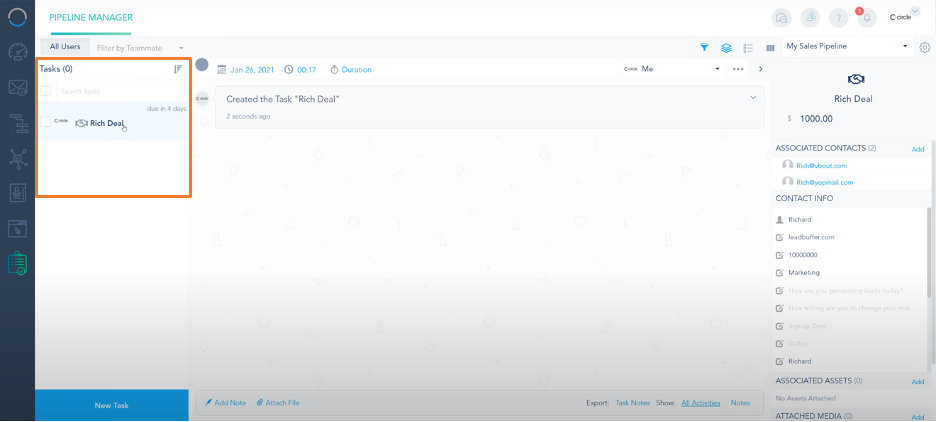
Click Submit and the task is added here.
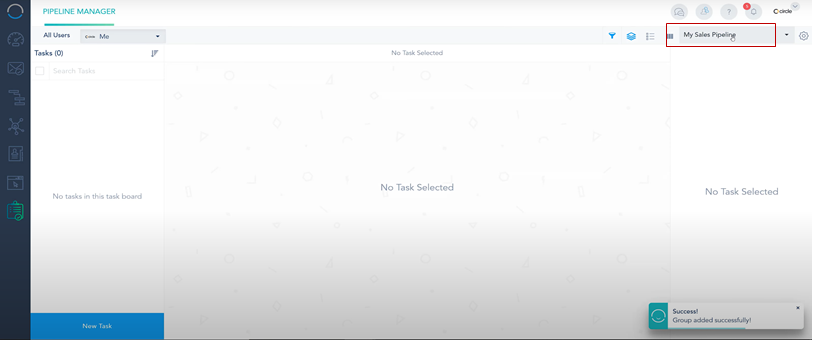
You can access your pipeline again from the top right
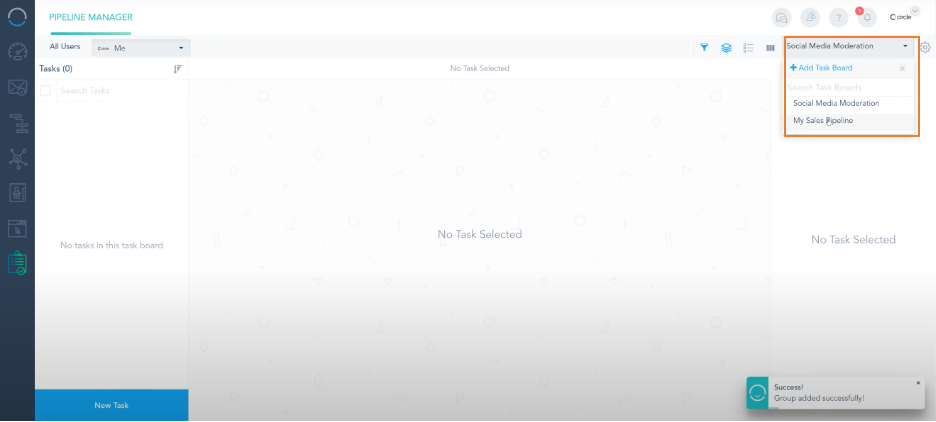
You can also create an additional one here by clicking the "add"

You can toggle between two tasks easily here

On the top right view, what you can see is what's assigned to different users on here, where it's everybody or what's assigned to you.
There is a sorting option and a search on the right.

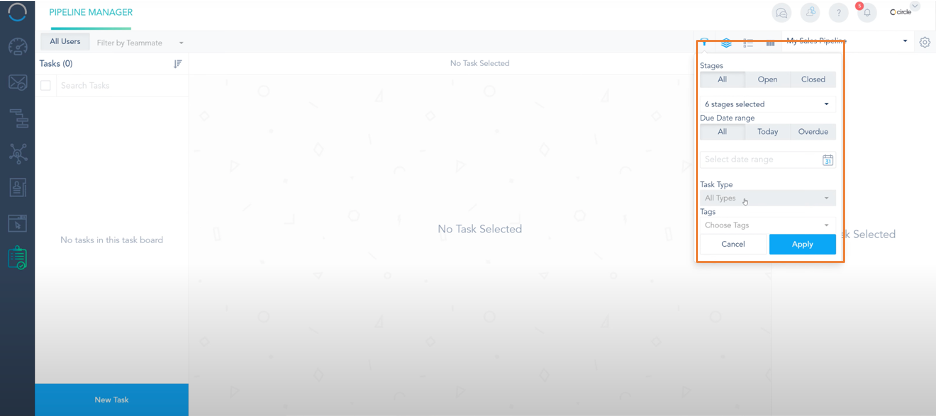
You can filter tasks created based on the dates, what stage of the process, and what kind of task.
We have different views of tasks here. By clicking this button, you will have the Stacked View.

This is the Table View
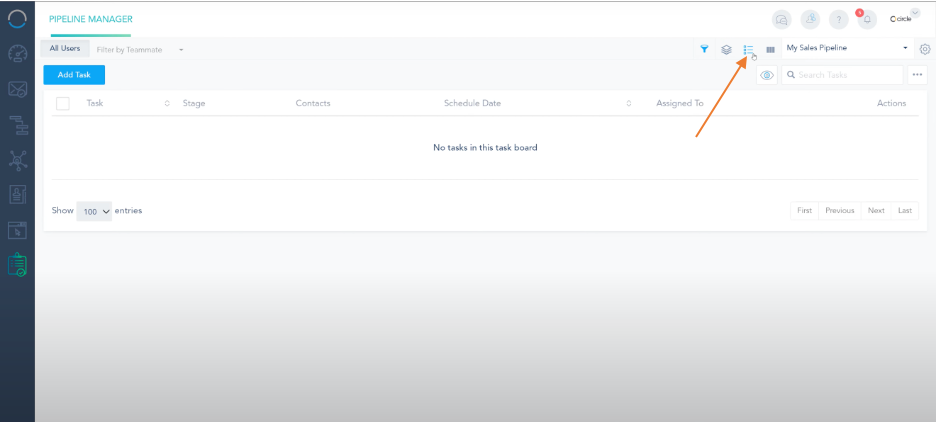
This is the Pipeline View

By clicking the "Plus" in any of the columns here, you can add a task to the pipeline view,

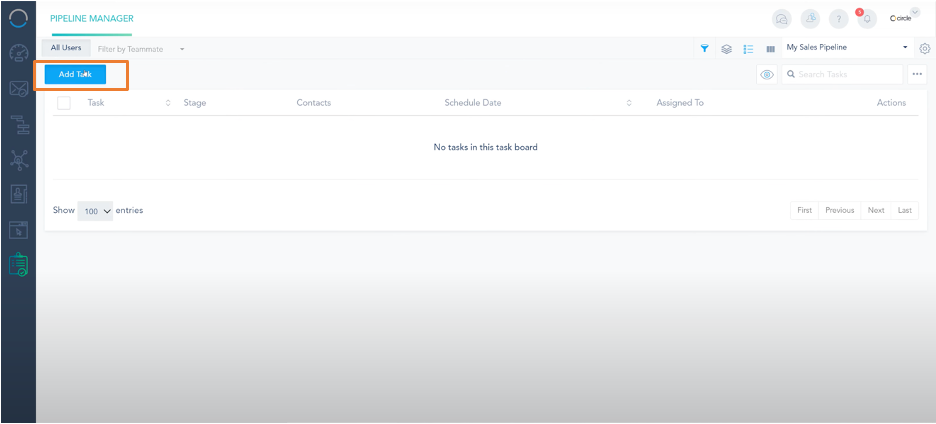
In the Table View, you can simply add the task here.
In the Stacked View, you can add the task at the bottom. On this view, you have the option to assign tasks.

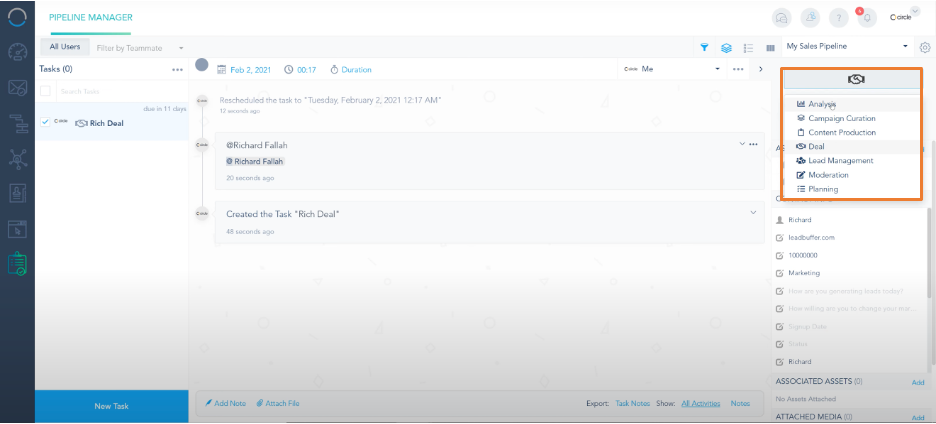
You can choose different types such as Analytics, Campaign Curation, etc......
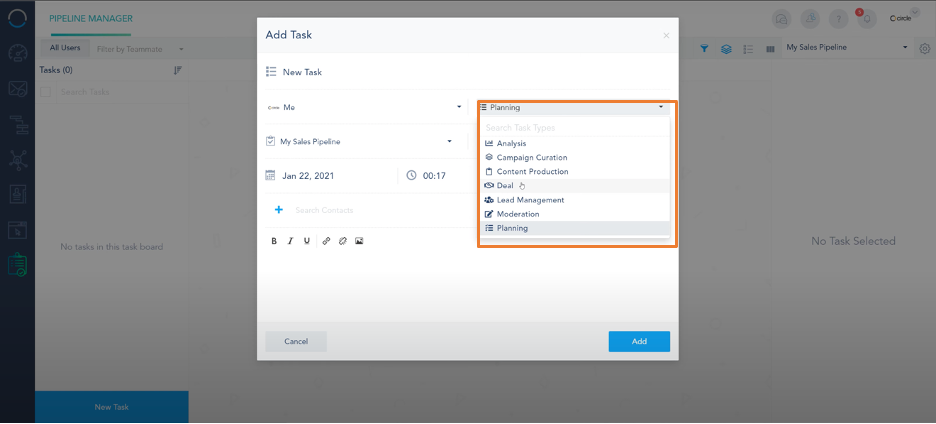
If you choose the deal type here, you can fill in an amount of value for description.

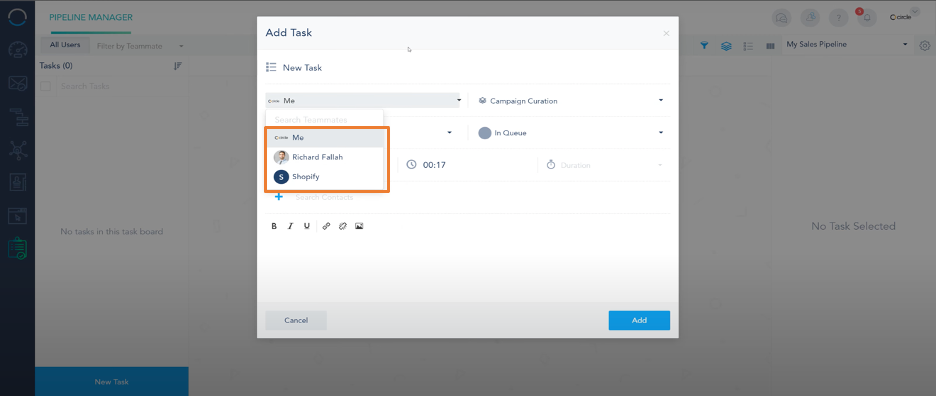
You can choose to assign the task to yourself and also to other people in the list
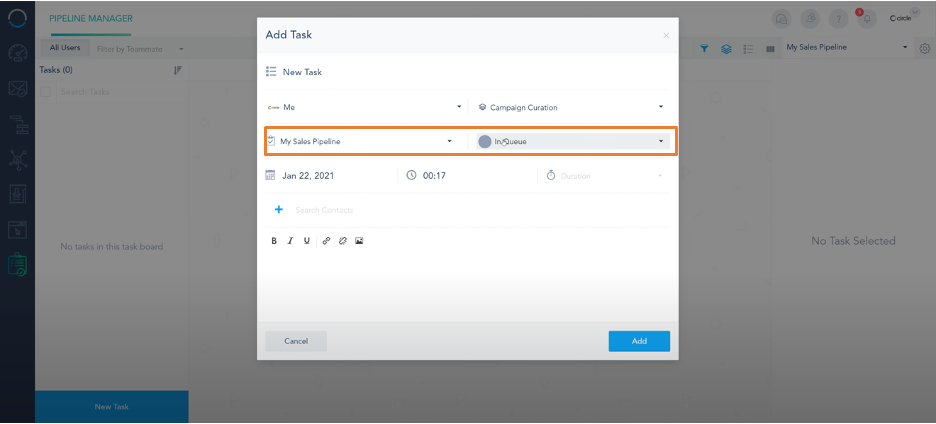
You can choose the pipeline with the stage you want here
 This is the due date which will work as a reminder. You'll get an email based on the date that you've set it up for so if you set it up for the 26th, you're going to get a reminder on the night of the 25th.

This is the time of duration you can set up for
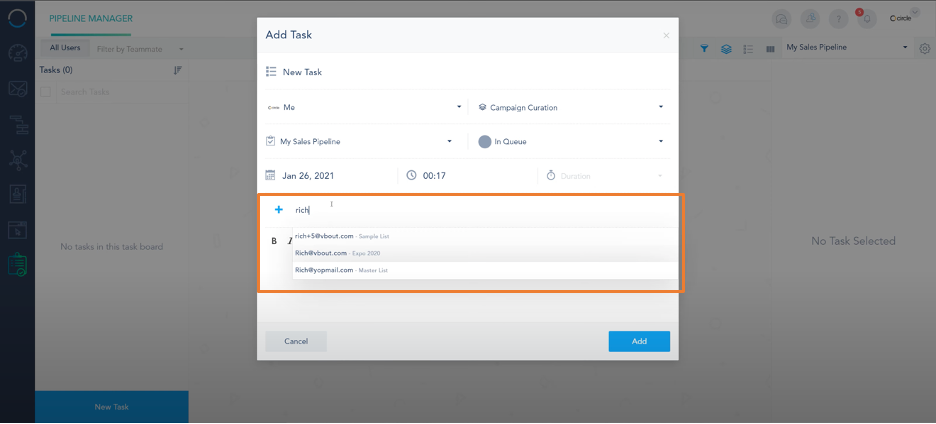
 You can attach contacts from your database. For example, if I search "rich" here, these are people who are in my database belonging to different lists. You can see the list tag at the end and you can just attach them to this task. You can attach multiple as well.
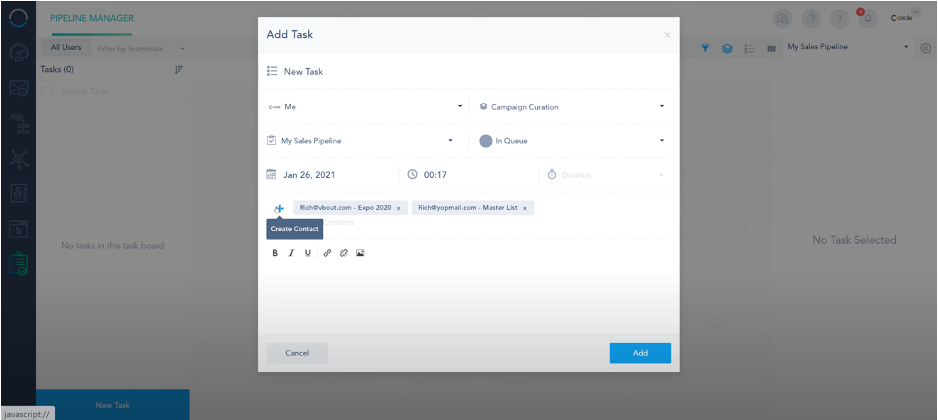
 If you don't have the email or that contact added click on the plus and add them directly from here
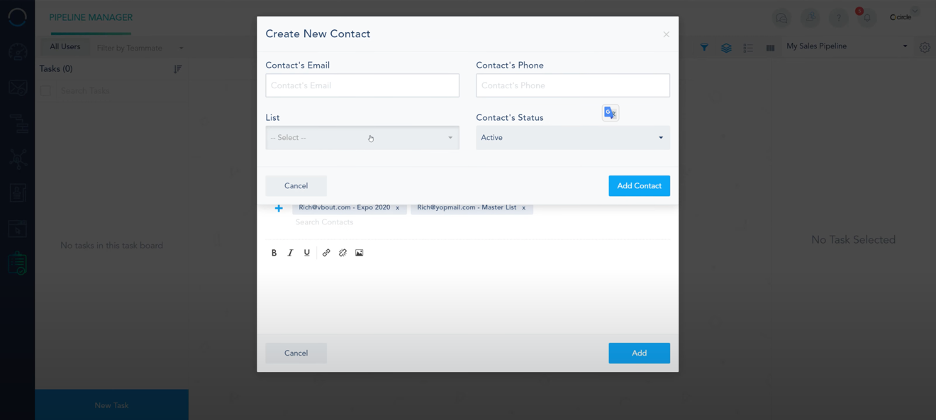
You choose the list and then add the contact information here. It is an easy way to either search your database or attach something or attach the lead by adding them from the plus.
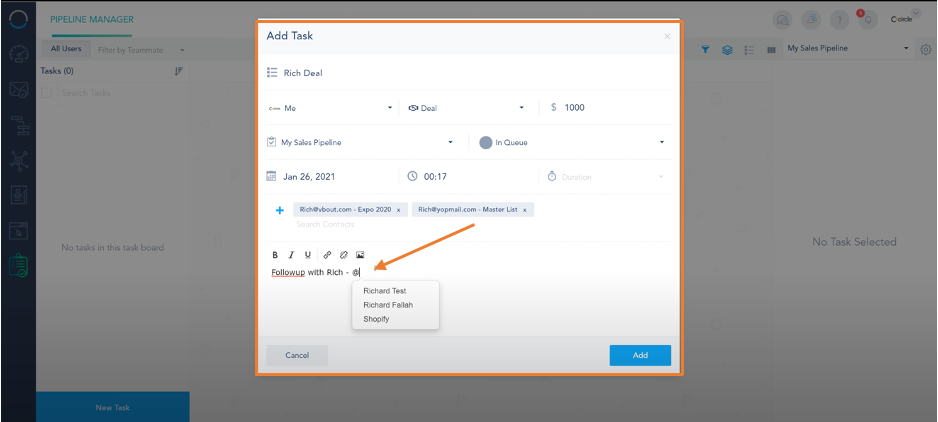
You are halfway there. Now you understand the functions of each button, Let's go through an example here. I'm gonna make this type of deal and make it a thousand bucks. I will also write some description here "follow up with rich". In the description, you can also mention your colleagues by simply clicking on and you'll see the drop-down pulling up everybody on your team. By clicking this, you're pretty much just mentioning them so they will get notified then.
On this view, you can see the deal or the type of deal.
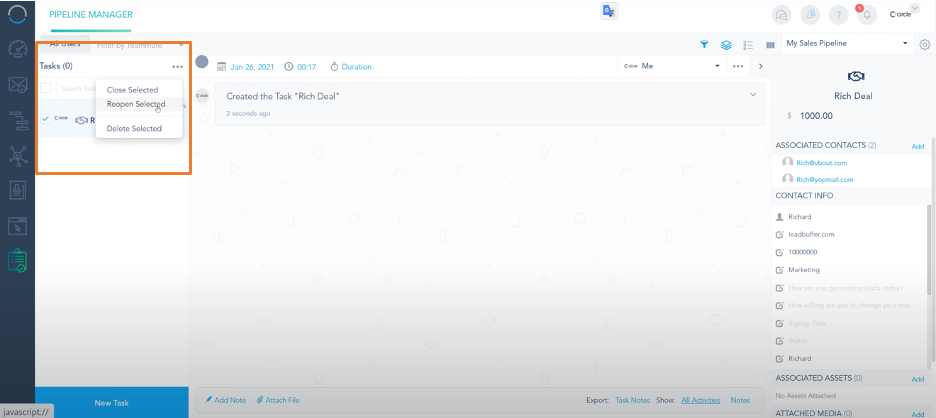
 You can toggle between and choose here to delete or reopen the task. In the middle, you also have the initial task description.
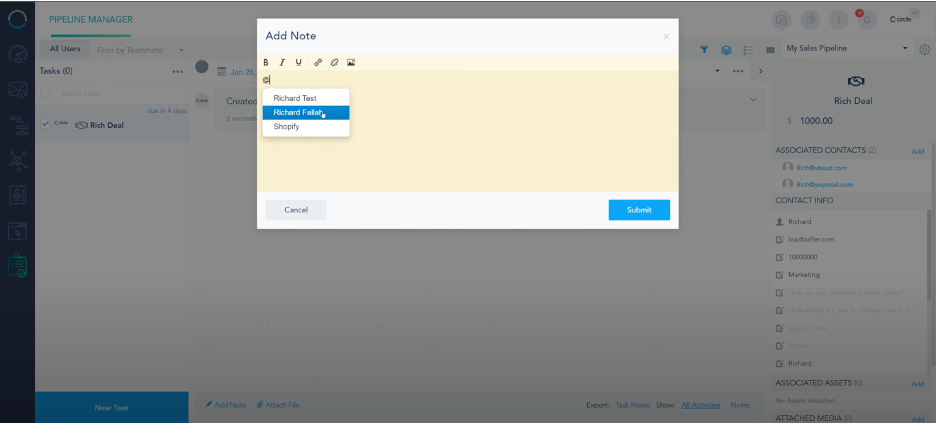
By clicking it, you can add notes to it and also mention other group members.
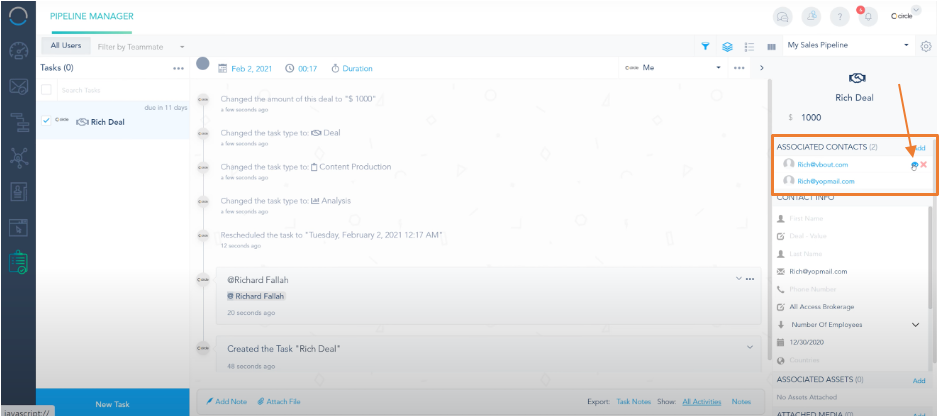
You can change the deal type here and re-attach the amount of the deal.
 You have two different contacts here. By clicking the "Eye", the details here is showing one of them which is the first one by default. If you want to toggle between them, you can apply any edits and even add tags to the profile right.
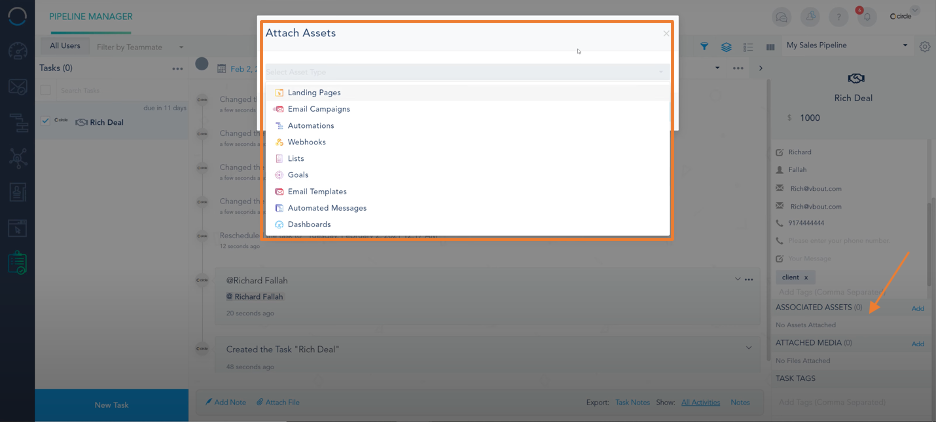
You can add tags under the Associated Assets, attach image under the Media, and attach tasks under the Task
You can tag different tasks here and this will allow you to do some searching and filtering based on tags.
 you see this little option right in here which lets you close the task. You can also copy it to a sub-account if you have an agency or multi-tier model. You can also change the assignment to someone else on the team by doing that not only it adds a trail here but it also sends an email to the new assignee.
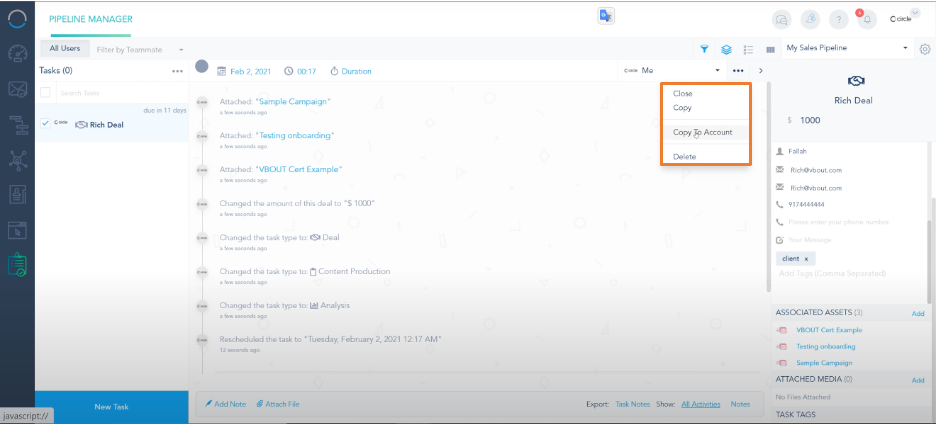
In the table view here, you can also edit your task.

In the pipeline view, you can drag your task to differnet columns and update the label.

Great you are here! Now you now how to create a task and organize it. Let's add some tasks in Veritas.